Saturday, November 29, 2014

Shabby Steampunk Tag by Kim


 Happy Friday Friends! Today I would like to share with you my shabby steampunk tag. I used the Extra Large Tag from Gina's for my base. These tags are very cool and measure 8 inches high by 4 inches wide!   I started off by mod podging a lovely napkin with a vintage girl image on top, then layered some gorgeous laces and trims on the top and bottom from Craftsupplies1.


I cut up my Gears Borders and Corners set and layered them in her hair.  I embossed them in various colors of embossing powders, but keeping them in the vintage metal tones I wanted to achieve.  I then added some fun metal pieces like a hot air balloon on top of the gears, and some chipboard clock hands and a flower from Craftsupplies1.


 Here you can see one of Gina's chipboard pocket watches which I covered with some Prima Chalk Inks and surrounded with a metal clock hand, cameo and more beautiful flowers from Craftsupplies1.


 I also used some of the numbers from the Chunky Borders Set, cutting them up and placing them on the tag after embossing them and adding some copper Gilder's Paste.


I love the shabby and vintage feel of this tag, and the gears that surround this lovely little lady!


Thanks so much for stopping by today!

Gina's Designs Items Used

Other Items Used
Vintage Girl Napkin and Resin Eiffel Tower From Shabbylishious
Flowers, Lace and Metal from Craftsupplies1
Cameo, Music Ribbon, Metal Clock Hand from My Stash
Art Is Stencil From Crafter's Workshop 
Prima Chalk Inks
Mod Podge
Copper Gilders Paste
Imagine Crafts Embossing Powders
Stampendous Shabby White Embossing Powder

Friday, November 28, 2014

Two Christmas Cards by Dianna

Hi Everyone Dianna here with two Christmas Cards.
The first card is Santa with a tree, wreath and word Believe from Gina's Designs.  The background paper is "Beauty" from Authentique which is not actually "Christmas paper", but has a victorian look to it, so it works well with card.  The Christmas tree chipboard is covered with music paper that had been distressed with brown ink.  I used Stickles on the edges and to create the internal branches.  I used Sparkling H2O's on the Believe and Wreath.
I used copic on Santa, the bear and rocking horse. 
Santa's fur is a Snow Writer with Stickles daubed on it.  A white fur ball was used to finish off Santa's hat. 

The Second card's background is layed with scrap paper.  The bottom layer of vintage is a Christmas word stamp on tea stained paper.  The Jingle Bells is a stamp and was stamped on a torn piece of scrap card stock.  The Gina's Design Music Note was painted gold and then daubed with brown and gold Stickles.  The Robin Stamp was colored with copic and the snow is from a snow writer. 
Items Used
Gina's Designs
Copic
Santa - Y21, R29, R24, R46, R37, R39, RV69, N2, N4, N6, N8, E09, E15, E37, E74, YR24
G16 and G19
Robin -Y21, R29, R24, R46 and RV69
Stamps
Stampendous Stamps
Cling - Jingle Music
Cling- Jumbo Dear Santa
Cling - Snow Bird


Thursday, November 27, 2014

Red and Blue Christmas Cards by Melissa & A Wintery Layout by Nancy


Today we have double the fun on our blog, with two designers up to share their projects. First up is Melissa with some fun Christmas Cards.

Hi everyone! Melissa here with two cards for Gina's Chipboard Laser Designs.

I thought the chipboard here added so much to the design; that makes it fun to work with.

To decorate the chipboard I first prepped them with gesso.  The leaves are Utee sprinkled on wet chalk ink that I then melted with a heat tool. The scroll at the top is is just gold leaf paint brushed on.  
The snowflake on the right is silver leaf paint. I added a couple pieces of bling.


Thanks for looking!

Chipboard used:

Papers from Reminisce and Kay & Company
Prima and Petaloo flowers
Prima bling
Vintaj metal
Jaquard Pearlex Powder
Plaid Liquid Gold Leaf paint, also silver
Distress Crackle Paint-Clear Rock Candy
Tsuineko chalk ink
Viva Modeling Cream
A few pointed back Swarovski crystals
Silver Stickles

Now over to Nancy with her gorgeous layout!

It is with great regret that we announce that today is our last project from Nancy.  Nancy has been with Gina's Designs from the beginning and had shared freely of her talent and time.  Nancy, we appreciate you so much and look forward to having you return as a guest with us in the future.

Hi Everyone, it's Nancy here!  Today I'm sharing a Vintage styled layout with a Winter theme.  I decided to frame my layout in a 12 x 12 wooden shadow box from Michael's, giving me more space to play with my chipboard shapes, embellishments, and mixed media techniques.  


I began by painting the unfinished wood frame with gesso.  When it was dry I used Mod Podge to adhere some of the design papers that I had printed onto tissue paper.  I then used some of my stencils to add texture.  I added even more texture with pieces of the Diamond Texture Sheet from Gina's Designs and some of our Intricate Doilies.  I embossed the pieces of chipboard texture sheet with Stampendous shabby blue and then I rubbed on gold Gilder's Paste.  The doily pieces were adhered to the frame with Mod Podge and when dry, I applied gold Gilder's Paste.  A closeup of the frame's textures is shown below:


I added texture to the chipboard tree from our Winter Shape Set with my goal being to give it the look of being glazed over with ice.  I first painted the tree with gesso.  I followed that with a coat of white pearlescent paint by Folk Art.  When dry I added Tim Holtz Distress Crackle Paint in Clear Rock Candy.  I then added Vintage Photo Distress Ink and wiped it off so it stayed mainly in the cracks.  I followed that by applying a white puffy dimensional paint and drew it on in a tree pattern.  While wet I sprinkled on clear glass beads and Tim Holtz Distress Glitter.  On the snowflakes I simply applied Stampendous shabby embossing powders in white and in ivory.


For the sled, also from our Winter Shape set, my goal was to try to make it look old and worn.  I began with a light coat of gesso applied using a fan brush so some of the natural chipboard showed through.  I added just a touch of light blue Prima Chalk Ink to the slats.  I then drew wood pattern on the slats with a Tim Holtz Distress Pen in Vintage Photo which I then blurred and blended with a water pen.  For the sleds framework, I first painted it with a brass paint dabber, then "rusted" it with Tim Holtz Vintage Photo Distress Embossing Powder.


Thanks for looking!

Gina's Designs Products Used:


Other:
Printable Digital Paper by Crafty Secrets (Vintage Christmas Kit)
Flowers by Tresors DeLuxe and Prima
Dragonflies by Renea Bouquets

Wednesday, November 26, 2014

Christmas Cards by Mary

Can you believe we are less than a month away until Christmas?? Mary here, and I have two cards for you today that I made using some of the chipboard pieces that Gina has in her store.

The first card features one of the snowflakes from the Snowflake Shape Set. I applied a coat of gesso before covering it in glitter. It is attached to the card using pop dots.

The next card is an easel card. I used the Punch elements - 1" Scalloped to make the elements that will keep the card in the upright position.


Thanks for stopping by the blog today! Make sure you check out the store for other great things you can use to make cards with.


Gina's Designs Products

Other Products Used
Paper: K&Company and my stash
Bling Snowflakes: Jolee's boutique: Snowflake Repeats
Ribbon: Stash

Tuesday, November 25, 2014

5 Christmas Cards by Kathi

Good morning, Kathi here to share with you 5 Christmas cards I created using several of Gina's Christmas sets she has in the store. First up is this fun penguin card!


 For the base of each card, I used a black & ivory cardstock. I ran it through the the big shot using a snow flake embossing folder. Each of the chipboard shapes  painted with white gesso, then painted with distress paint.

 Once painted, the front of the penguins were then covered with white flocking. The Christmas bulbs are painted with stickles.

On this card the lamppost was painted and then covered with glossy accents. I used white flocking on the penguins the snowmen to give them dimension.
 

The berries are covered with red stickles, with a red ribbon tied on the left.

For the penguin card, the snowflakes are painted with white gesso and the bowtie is covered with glossy accents.


  Last, but not least,  on this card I used black card stock, then embossed with a cuddle bug embossing folder. 
 
All chipboard was first painted with white gesso, then painted with white distress paint.  Let it snow & the snowman's hat was covered with a wet glue then covered with red distress glitter.

Thanks for stopping by!

Supplies Used: 
Other Supplies Used:
White Gesso
Glossy Accents
White Flocking
Distress Paint
Stickles
Snow Flake Embossing Folder
Trim
Cardstock, Black & Ivory

Monday, November 24, 2014

Gift Card Holders and Tutorial by Deann

Good morning, Deann here, today I would like to share some teacher gifts I created for Christmas gifts using coffee sleeves.

I used the Gingerbread Family Shape Set and the Winter Shape Set on my project then I added a coco pouch, candy cane, paper straw and will add a gift card to it later.

 This is what they look like all packaged up!


If you want to see how they were made, I will have a photo tutorial below so you can make your own altered coffee sleeves, enjoy!
Thank you,
(((HUGS)))
Deann
Products used-
Winter Shape Set

Coffee Sleeve Tutorial


Step 1- Get a coffee sleeve from your favorite Coffee Shop!

 
 Step 2- Open sleeve up, paint or stain the edges and where the folds are.

 
Step 3A- I cut a second sleeve apart to make a template,
3B- Cut a small amount off of the pieces on all sides, this will give an bordered edge on your sleeve.

 
Step4- Glue the paper to the sleeve and seal closed. All done!
Time for the decorating.


I used one of the Gingerbread men and inked it up and then edged it with gesso to look like frosting.

 
I added some buttons to the finished product, and volia! 
I hope you enjoyed my tutorial, thanks for stopping by.
 

Sunday, November 23, 2014

Layout by Lynne

Lynne here today and I just had share this photo taken at our family BBQ this summer!  We all get together so seldom so this is a fun reminder of the times we shared.

 I started out with all the pastels and just a few black accents, and it was pretty but....bland. It definitely needed something. Then I pulled out the Scribbled Frames and Lines set, painted the pieces black and-BAM!-exactly what my page needed to bring it to life!


Something I really love about Gina's chipboard is that you can add lots of texture and detail to them, keep it simple with just paint or mist, or even leave them...gasp...naked!! The versatility is fabulous and allows them to look new and different on every project you create!

Gina's products used

Scribbled Frames and Lines

Other products used

Blue Fern Montage papers
Marion Smith Posh papers
(both from Scraps of Elegance Nov kit)

Thank you for stopping by today!

Saturday, November 22, 2014

Layout

Hey everyone. Shanna here to share a recent layout I did. Masculine is still a new thing to me. I couldn't help it but I had to use flowers. 


I had so much fun using this frame in my background and really got to get into the mixed media look of it.


I added several layers on this chipboard. First I gave it a quick coat of gesso. Then I added some Lindy Stamp Gang Sprays and a little bit of some glass bead gel. 


I added some splatters of the color sprays I used. 


My boy has such a sweet smile and he was almost 1 when I had this photo take. I loved adding these pieces to make it more masculine. 

Hope you found so inspiration make sure to keep checking out the blog for more inspiration daily. 

Items Used:


Friday, November 21, 2014

Mitten Banners by Deann and Kim


Happy Friday everyone! Today we have our two designers, Deann and Kim up with their take on our Mitten Micro Mini Album.  First up is Deann with her take...

Good morning, Deann here with a dual project with Kim!
We both made the Mitten Micro Mini Album. We decided to turn the mini into banners.

I used the My Minds Eye Holly Jolly 6x6 paper pad to cover the mittens.

 I used Heidi's Stars Shape Set on some of the cuffs.

 I also used the Snowflakes Shape Set.

I found really cute jingle bells at the Dollar Tree, they look so cute!
(((HUGS)))
Deann
Products used-
Other Products used-
Flowers and Dollies from
Craftsupplies1

Next up is Kim with her very pretty Banner!

Hello friends, today I am here to share with you my take on the Micro Mitten Mini Album. I turned the mini into a vertical banner for my front door.  I started off my banner by using some of the pieces from the Winter Shape Set, the tree and the "Let it Snow" sentiment.  I embossed the words and layered them over the tree which I used some Snow Tex on to give the illusion of snow, and topped the tree off with one of the bling buttons from Craftsupplies1.


Here is the mittens which hang below the Let It Snow sentiment, it hangs on my front door.


 Below here are my mittens, I used some Lawn Fawn paper on them, then went around with some chalk inks to distress them a little. I topped the mittens off with some gorgeous laces, flowers and trim from Craftsupplies1, along with some fun Christmas mini lights I had in my stash.


I used some of the snowflakes from Gina's Snowflake set, which I textured and added some tinsel embossing powder to give them some shine. For the letters, I used some of the lady bug Prima chalk ink and then embossed on top of them  with a clear glitter embossing powder. I also used some embossing paste and a Tim Holtz stencil, Stars, to create a wintery background on the mittens.


I am really happy with how this turns out. Deann and I loved making this so much, that Gina is going to make a Snow Mitten Banner which will be in the store soon!

Thanks for stopping by today to check out my and Deann's projects.

Gina's Designs Items Used

Other Items Used
Lawn Fawn Paper
Flowers, Lace and Trim by Craftsupplies1
Prima Chalk Inks
Wendy Vechi Embossing Paste
Tim Holtz Stencil
Ranger Embossing Powders


Thursday, November 20, 2014

Christmas Kitties House Shadowbox by Nancy & Let It Snow Layout by Melissa

Happy Thursday everyone! Today we have two designers up with some Christmas themed projects. First up is Nancy with her Kitty Cat Shadowbox.

Hi Everyone, Nancy here!  Today I'm sharing another of my favorite pieces, our house shadow box.  I've decorated this one especially for one of my kitty loving friends as a Christmas gift.

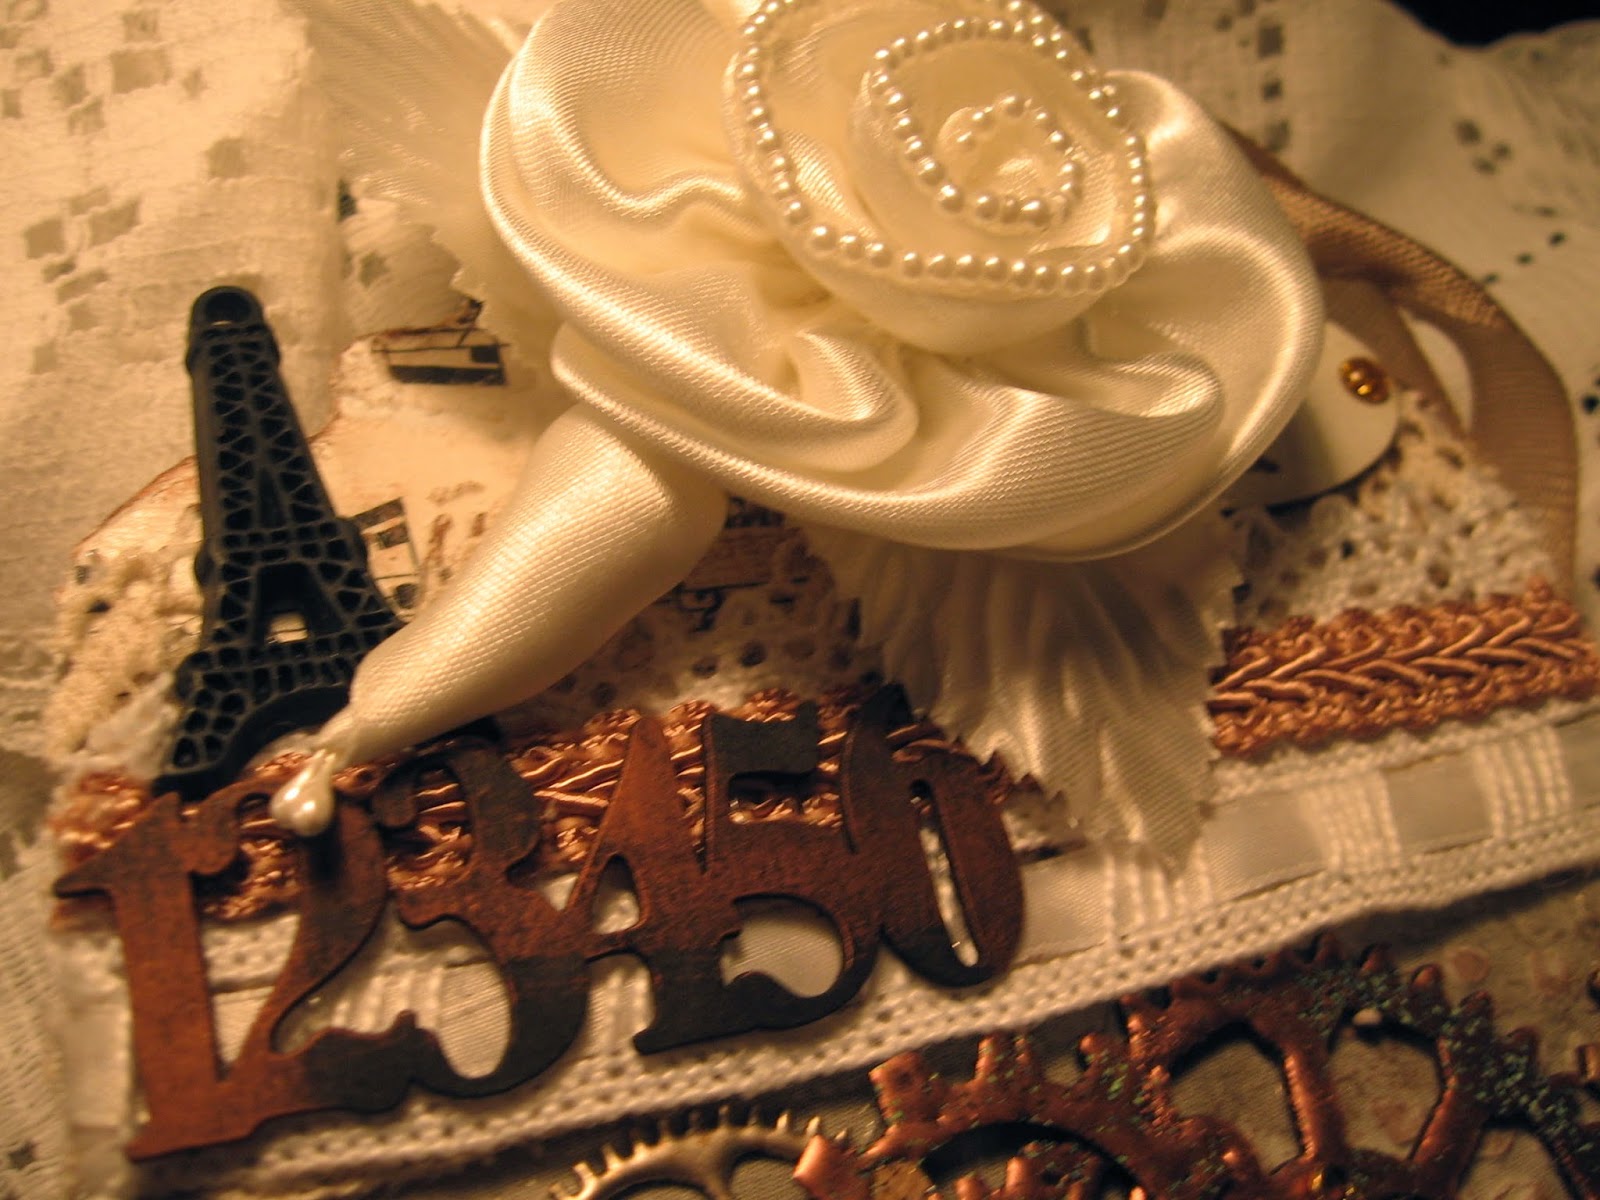
 After assembling the shadowbox, I painted it with gesso and applied Tim Holtz tissue tape in music note pattern to the edges.  The inside of the niches, and the outside of the shadow box were papered with a printable digital paper in a vintage Christmas pattern.

 I filled the box mainly with fussy cut digital images that I found on Pinterest, or purchased on Etsy, and handmade little books which I created from free digital files.  The smaller of our layered chipboard fireplaces fits perfectly in the larger square of the box, and I thought it added a cozy feel.

The lamppost at the upper right is also by Gina's Designs, and is available in the store as a larger piece than shown here.  I had requested that this smaller version be custom cut for me.  The shadow box was cut at a depth of 1 1/2 inches by request.  The standard depth is 2 inches, but you can request it be cut to fit your needs as I did.


Gina's Designs Products Used:

Fireplace (coming to the store soon)

Other:
Vintage Christmas digital paper kit by Crafty Secrets
Wooden vintage cat icons by Pork Chop Show on Etsy


Next we have Melissa with her snowy layout!

Hi everyone! Melissa here with a 12 x 12 mixed media layout for Gina's Chipboard Laser Designs.


The snowman, title, and tree go with the photo pretty well, don't you think? I especially love the intricate detail on the tree.


To decorate the chipboard I first prepped them with gesso. I experimented with the snowman, trying to get a lot of texture. I put on:
1. Texture paste , make some swirls in it with a small paint brush. Let dry.
2. pale blue watercolor paint,let dry
3. viva decor metallic paint in pearl,let dry
4. It wasn't white enough so I applied white puffy paint
5. utee while the puffy paint was wet
6. heat till puffed up
7. sprinkle on some clear glass glitter

The scarf is blue watercolor over swirled texture paste, then viva modeling cream, and silver pearlex powder.

For the hat, I pressed it on a black ink pad. I put on glossy accents, followed by white pearlex .

For the title, I used pale blue watercolor, then a thick layer of Viva white metallic paint. I topped it off with a thick layer of Distress Crackle Paint. I put some silver stickles around the edges.

For the tree, I put on texture paste in a small blobs. I pulled and twisted them lengthwise with a straight pin, to make it look like tree bark. I painted on a coat of pale brown watercolor, followed by a coat of silver ink on the raised areas. I rubbed some blue-purple pearlex powder on the "ridges", then another layer of silver ink.


Thanks for looking!

Chipboard used:

Other:
Paper from Pink Paislee and UHK Gallery
Gesso
Viva Modeling Cream, in pearl
Lindy's Spray
Viva Color Precious Metal Effect Paint,in white
Foam core board
Utee(ultra thick embossing powder)
Clear glass glitter
Plaid Liquid Leaf Silver Paint
Jaquard Pearlex Powder
Distress Crackle Paint - Clear Rock Candy
Windsor and Newton Watercolors
Swarovski pointed back crystals
Pearl swirl by Prima


Related Posts Plugin for WordPress, Blogger...