Showing posts with label bagatelle boxes. Show all posts

Saturday, October 31, 2015

Halloween Blog Hop with Gina's Designs and Creative Paperclay!!!


It's time for a fun Halloween Theme Blog Hop! Gina's Designs Lasercuts Design Team has teamed up with the Creative Paperclay Design Team for this fun blog hop. We are all excited to show off our Halloween projects and even more excited about the fact YOU can win a prize.


The Prize Package includes:
1 pound package of Paperclay
1 sample package of Sandits and
$25 shopping spree to Gina's Designs Lasercuts


How to enter - each of these will get you one entry
1) Stop by each blog on the hop and leave a comment
2) Pin each project on your Pinterest site
3) Share this post on your Facebook page
4) Like Creative Paperclay Facebook page
5) Like Gina Designs Facebook page


Hi Everyone, Dianna here with my version of Halloween Bagatelle boxes using Gina's Designs and Creative Paperclay!.  I used four boxes and distress painted the outside and used scrap Halloween paper for the inside.  I did not paint the inside of the boxes because I wanted the highlights.  I punched the tag that says so spooky and distressed the edges.  The spiderweb and Spooky are from the Gina's Designs and both were painted white.  I then used Stickles for more bling.  I painted a Triptych Arch Top silver and topped it with a rhinestone string. 

I had a blast using the Creative Paperclay Delight! I bought molds and used the clay in the molds. The owl, pumpkin and bat were created with the Creative Paperclay.   It is really easy to use, just spread the paperclay in the mold and pop it out.  I waited for it to dry, about a couple of hours and then used my Copic Markers and colored them.  The markers were easy to use on the paperclay.  I look forward to using more paperclay in my projects.  

The witches hats were created with a 1-1/2 inch circle punch and then punching a 1 inch punch in the center.  I then used a 2 inch punch and then cut a triangle out of the 2 inch circle.  I then glued the sides of the triangle together and glued the top of the hat to the bottom circle. I then decorated the hats with items laying around the house. 

Items used
Gina's Designs


Creative Paperclay


Friday, April 3, 2015

Fairy Dust Bagatelle Boxes

I'm pretty excited about my first project for GinasDesigns.net.
Being a sucker for small things I was keen to play with the Bagatelle Boxes.
I had a few ideas but ended up creating a series of these fairy dust shrines.

Don't they look like they just came out of a fairy godmother's cupboard?!
The boxes come in six different sizes and can accommodate various sized bottles and vials. 
You can purchase a set of bagatelle boxes containing two of each size, or buy them separately.
For this blue bagatelle I've chopped up a plate from the Keys & Plates Shape Set to create the feet. 
(I give a little how-to in my video tutorial linked below.)

For this one I've used the Stackable Labels Shape Set. I've used the the Miniature Bookplates Shape Set on some of the other boxes.

And just in case your handwriting is a little bit iffy, I've created an entire sheet of little labels of Fairy and Pixie Dust to fit all manner of little bottles and vials.

There's a full video tutorial for this project, and I really hope you'll take a peek and try your hand at making some magic of your own ;)

Gina's Designs Supply List:
Bagatelle Boxes
Miniature Bookplates Shape Set
Keys & Plates Shape Set

Other items used
Small Glass Bottles and Vials
Glitter3mm Brass Flat-Back Studs
Sandpaper
Krazy Glue
White Acrylic Paint
Aleene's Tacky Glue

Friday, December 19, 2014

Hello Friend 3D Card by Kim

Hi Friends, and happy Friday! Today I have a fun 3 dimensional card to share with you. I created this out of one of  Gina's Doors and a 3 x 3 inch Bagatelle Box.
 
 I used some of the Mirabelle paper to cover the door and the box, I just love the blue roses and the little bit of sparkle they have.  I attached the Bagatelle Box on top of the door, after I painted and covered it with the same paper.
After the painting and papering was complete, it was time for the fun part, embellishing!  I added some fun metal and resin pieces to the box along with my "hello friend" sentiment and a vintage doily and paper flowers. I framed the box with some of the Bella Mini Flourishes
The Door comes with several little styles of door knobs and plates.  I embossed one of the door plates and added a button with a blue rose on it for the knob.
I then added some various flowers from my stash and a lovely glittery butterfly.
 In these two photos you can see the lovely window that is in the door, I added lace behind it and a cool little lion head door knocker.   For the back of the door, I papered it and added a "to and from" stamp for my sentiment which I will add before I send it to my friend.
 I hope you have enjoyed my project today, these 3D cards are super fun to make! You can create any style as Gina has a great selection of door's in her shop.
Thanks for stopping by!

Other Items Used
Mirabelle by Santoro Paper
Butterbeescraps Metal
Prima Metal and Resin
Flowers From My Stash
Lace, Trims and Butterfly from Kraftsupplies4U
Recollections Button


Friday, May 23, 2014

Shabby Cottage Window Shadowboxes


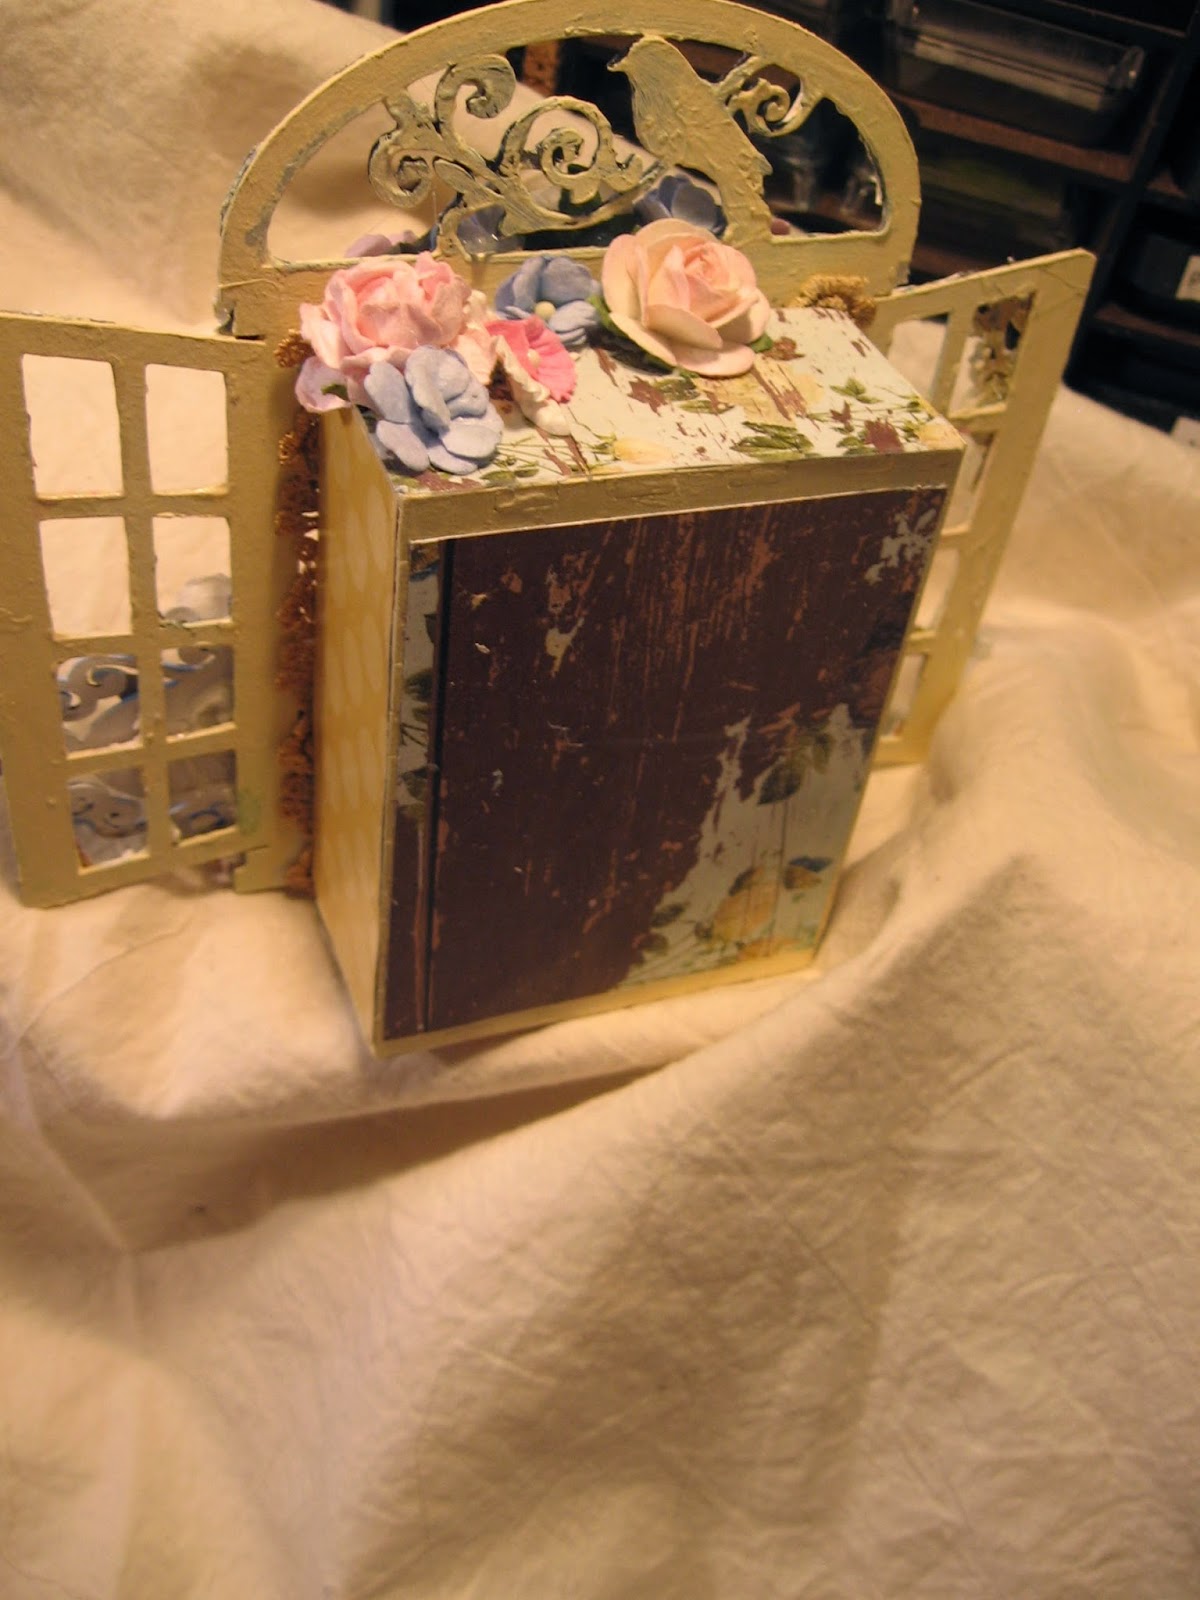
 Happy Friday everyone! Today I would like to share a fun little project I created to hang on my wall in my kitchen. These are my Shabby Cottage Window Shadowboxes, which are made from Gina's Bagatelle Boxes.

 I really love these little bagatelle boxes, they come in lots of different sizes, and you can purchase them in a set of 12! I had a lot of fun with these, and got out the Large Cottage Windows to place over the top of the boxes to create the illusion of looking in a cottage window. I did a lot of mixed media work on the windows, and it was fun to get my hands dirty!

You can see in the first one, several of Gina's other pieces, such as the postage stamp frames, gears, diamond texture sheet, stackable labels set, and a few pieces from the spring shape set as well. I embossed, painted and stamped on most of them and of course added some laces for a finishing touch.


Side & Back View of the Bagatelle Boxes


Thanks so much for stopping by to take a look at my shadowboxes and I hope you will give them a try!

Gina's Designs Products Used

Other Items Used
My Minds Eye Pretty Things Paper
Wild Orchid Craft Flowers
Americana Baby Blue, Buttermilk and Snow Paint
Stampendous Shabby White Embossing Powder
Lace From The Lace Mama
Shimmerz Texturez & Dazzlerz Paints
Wood Embellishements and Lace From My Stash
Wood Dressform by WhichCraft


Wednesday, December 18, 2013

The Couture Shop by Mary

Hi everyone, it's Mary here. I can't believe that Christmas is only seven days away! Today I have a configuration style design made from the Bagatelle Boxes: Starter Kit. These boxes are great! You get 12 in the kit (two of six different sizes) and once you have the boxes assembled, you can attach them in any arrangement you like.
I had so much fun with this project! I used the new "Couture" papers from Graphic 45 to line the inside and the outside of the boxes. I also used the paper on the wooden dress forms that will be available in the store in 2014!
 I used several items from the Doily Box: SEW collection. The needle was embossed with silver embossing powder.


Here you can see the doily and sewing machine from the Doily Box: SEW collection. The sewing machine, hinge (Hinge Shape Set) and filigree frame (Filigree Frames Shape Set) are all make from chipboard. These pieces were all embossed with embossing powders. Just a tip when embossing, if you are using a light color or want the true color of the embossing powder, gesso first. I cut the filigree frame in half and attached one of the images from the paper line to it before attaching it to the side of the box. 

Here are two more of the chipboard pieces from the Doily Box: SEW collection. The "sew" was given a serious workout. I had some embossing issues, but after four times under the heat gun, I got it right. The chipboard did not fall apart or warp on me. I then attached it the the blue embossed chipboard frame. You can also see a mirror in the corner. This came from the Parisian Shape Set. It comes in two pieces so it was easy to emboss the "glass". The base of the mirror was inked and then coated with glossy accents to give it that high polished look.


I love how this chipboard scissor turned out! The handle is black and the blades are silver embossed. I added a brad to the center.  They tuned out darling!


Here you can see the chipboard zipper, dress form and button (the dress form is sitting on it). The zipper and the dress form were all embossed. The button has a piece of the paper attached to it. The dress form is on a stand, but I cut it off and attached her to the button. I love that I can alter the pieces to fit my designing needs!


Thanks for stopping by the blog today!  I hope you all have a great holiday season!


Items Used From Gina's Designs
Bagatelle Boxes Starter Kit
Wooden Dress Forms (Available January 2014!)

Other Items Used
Graphic 45 - Couture - 8x8 and 6x6
Glossy Accents
Metal Key, Shoe and Filigree - ButterBeeScraps on Zibbet
Bling - Martha Stewart
Embossing Powders: Lindy's Stamp Gang, Tim Holtz, Stampin' Up!
Wooden Ruler - Prima
Flowers - Wild Orchid Crafts, Craft Supplies 1,
Thimbles - Metal and Wooden
Fabric and Laces
Bobbin
Pins

Monday, July 15, 2013

Bagatelle Boxes by Marfa


Good morning, fabulous people!  
Marfa here!   Today I want to show you a project that I plan to have around for a long, long time to come.  This is a Bagatelle Boxes Starter Kit by Gina's Designs.  If you saw the video that I took of my DT Package, you might remember a bunch of a little boxes that I showed you, with all the measurements, remember?  Well, these are it.  They were super-easy to put together.


I used Gorilla wood glue to glue them.  It was my first time using Gorilla glue, but it won't be the last.  That glue is awesome! I put them together and covered them with white gesso. This is not a decorative tray for me, it is something that I plan handle often.  Therefore, I didn't want to glue anything to it, like flowers, that might come loose after a while.  Instead, I took a Sharpie pen and started doodling all kinds of happy stuff on it.  I colored the doodles with my Copic markers.  It worked perfectly!  Then I filled with them with brads, found items, rhinestones and all those tiny stuff that we crafters use.  But they are also perfect as drawer organizers, office supplies, etc.  I love it!


Supplies Used:
Related Posts Plugin for WordPress, Blogger...