Showing posts with label Stackable Labels Shape Set. Show all posts

Saturday, November 7, 2015

Altered Tea Box

Well now that Halloween is over we are all starting to move towards Thanksgiving and Christmas creations. I just wasn't too sure what to create. I have so many things in this bin that need to be altered and I haven't played with the Coffee & Tea Set, so I set off to create. 

I have this wood box that I painted long ago. I thought it would be perfect for holding my various teas! What do you think?


I loved adding everything to this box and making a fancier holder for my teas!


I covered all my pieces of with gesso and them used Distress Paints on the Fern Fronds and Chalk Inks on the tea pot.  


I added glossy accents to the wire part of the kettle. 


I added some glass glitter to the Stackable Label.


You can see here the box is deep and a great size for storing teas in. Of course metal cans are nice too so I may have to do one for coffee next!


Items Used:

Wednesday, September 23, 2015

A Special Tribute by Guest Designer Jackie Neal

 Hello everyone,thanks for joining me again here at Gina's!
Today I would like to share something very special to me. September 19 was my Mom's birthday. She would have been 84. 
In honor of my Mom, I created this wall hanging using some of my favorite photos of her along with some of my favorite pieces from Gina's Designs.
 Read along as I share some photos and a few steps of my process.
This first photo is to show you a bit of how I work.
I had the general vision of what I wanted, but not sure of what elements I would use. The assorted Gina's pieces auditioned on and off and up and down, for about an hour before I finally (and I use that word lightly) decided!
For the base, I used covers from a book. They were gessoed, then painted, crackled and glued together.
 Next up painting the Flourished Frames Set-Evie (I used all three) and giving these a layer of crackle as well.
oops about the extra bits-darn macro shows everything!
Gina's Peacock Feathers Shape Set are absolutely gorgeous! These fit perfectly into Mom's piece as she had a beautiful evening dress that my Dad had brought her back from Japan. The dress, iridescent Damask Silk, had Peacock feathers all over and was one of the colors I used for this.
After the Peacock Feathers were painted and placed along with the other chipboard, I felt I needed just a bit more. I went through my Gina's stash and found the perfect chipboard pieces!
Again a bit of separation was done -
I told you Gina's chipboard was versatile!
 Here I used the Wrought Iron Set and separated a few of the swirly embellishments for my accent pieces for the center.
   I was painting the words "A Moment in Time", when I noticed there was Mom in beautiful cursive, so I cut it from the phrase and  adhered it to one of the pieces from the Stackable Labels Set.
 
I do hope you have been inspired to created something using Gina's beautiful chipboard Designs! 
  Jackie P Neal


 Gina's Products used:

Other Products used:
Silks Paints by ColoureArt~
Sea Spray, French Lilac, Chestnut Brown,
Teal Zircon,Wine&Roses, Stargazer, Key Lime
Gesso
Distress Crackle Paint-Clear Rock Candy
 E600 Glue

Wednesday, September 16, 2015

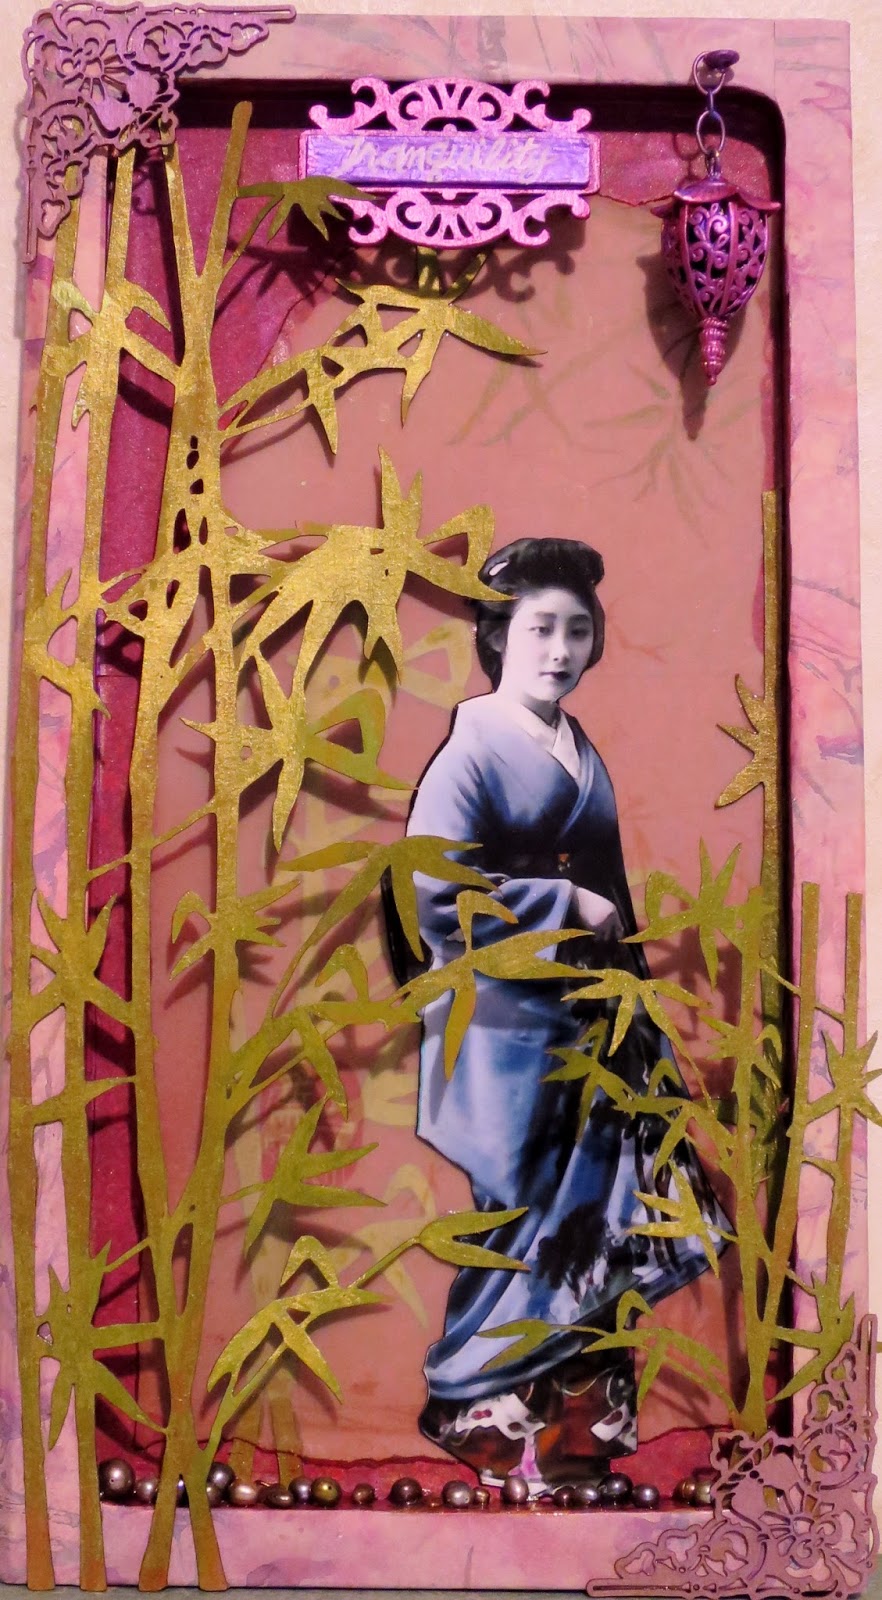
Tranquility with Guest Designer Jackie

Hello Everyone- Jackie here again, for another Wednesday guest designer appearance!Gina, thank you so much for inviting me! I can't tell you just how much all of your wonderful comments and Facebook likes and Google+'s have meant with my last project for Gina's! Thank you,Thank you!!
"Tranquility"

When I saw the Bamboo Shape Set at Gina's, I ooohhed and
aaahhed and knew just what I was going to create. What I started with is a wood substrate (I think this was from a desk that held pens&pencils) that I gessoed and papered with vintage pages and scrapbook paper background. The reason for choosing this substrate was because I had layers in mind, and plus, I love to up-cycle!
  

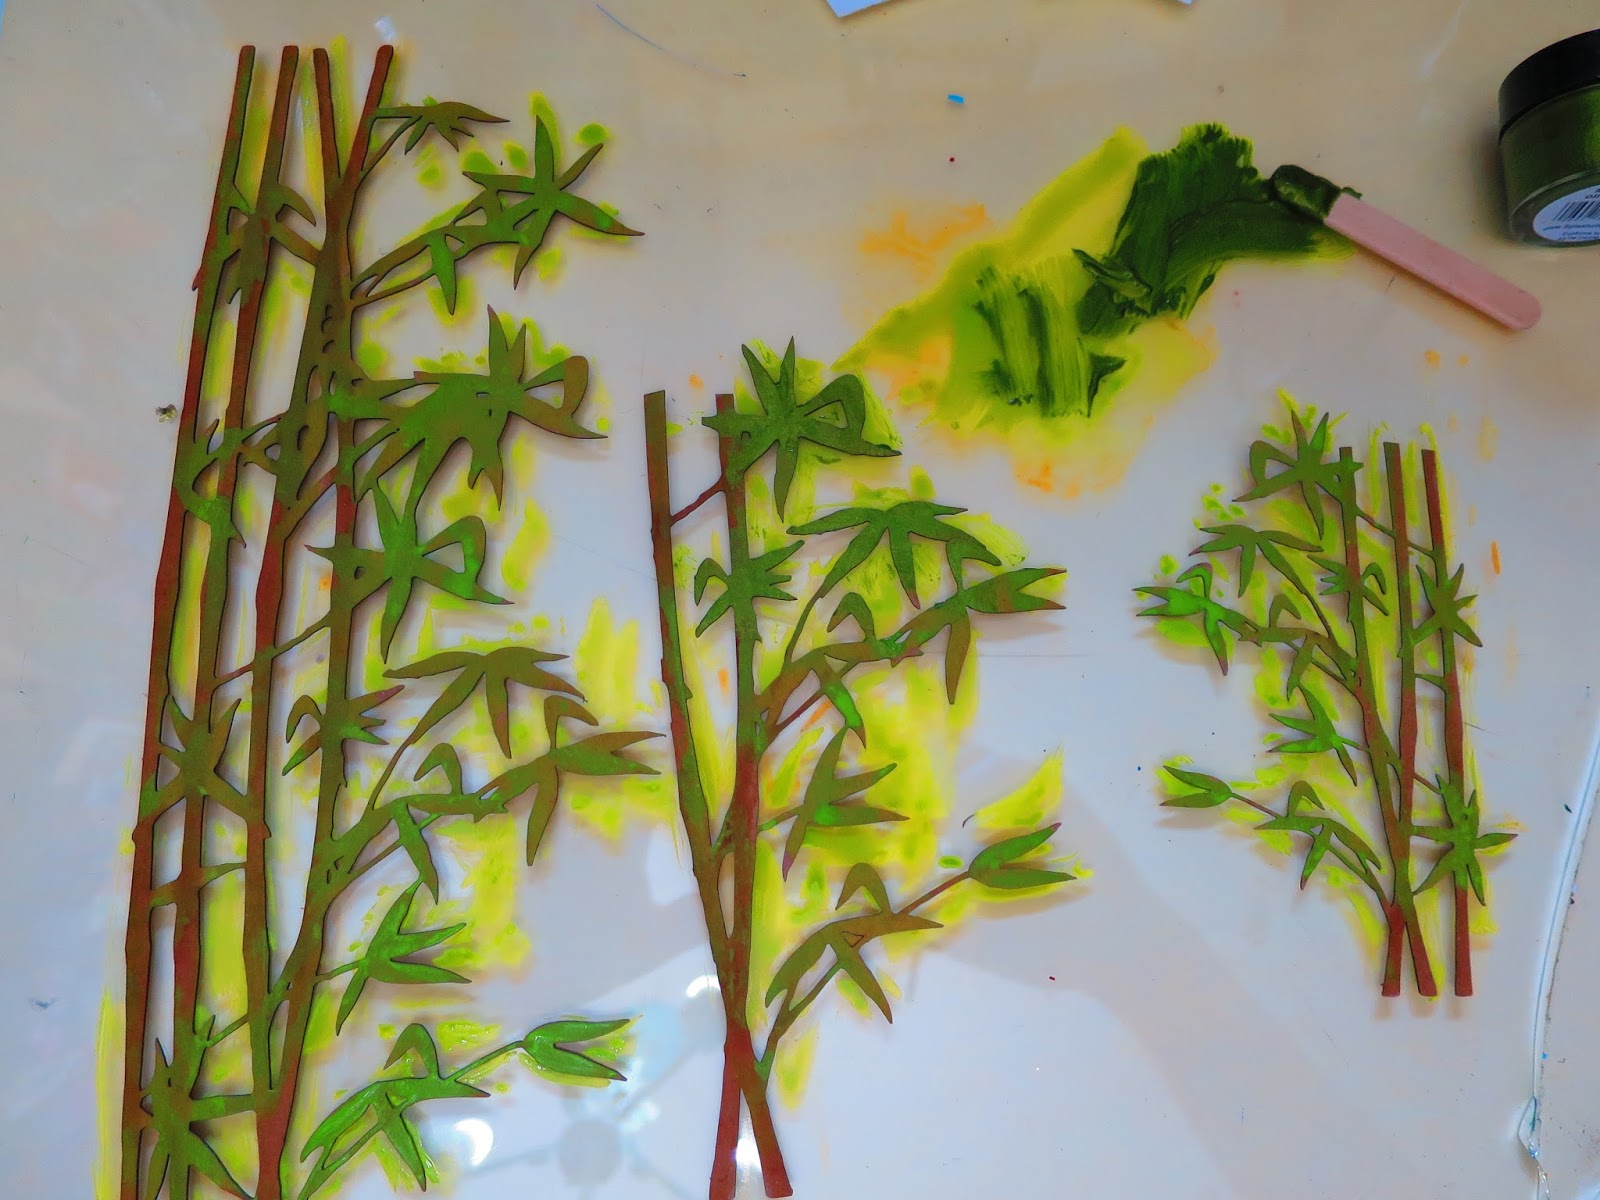
After giving the bamboo pieces color,I began by layering with velum paper and then more bamboo. These pieces above were one piece that I snipped in two.
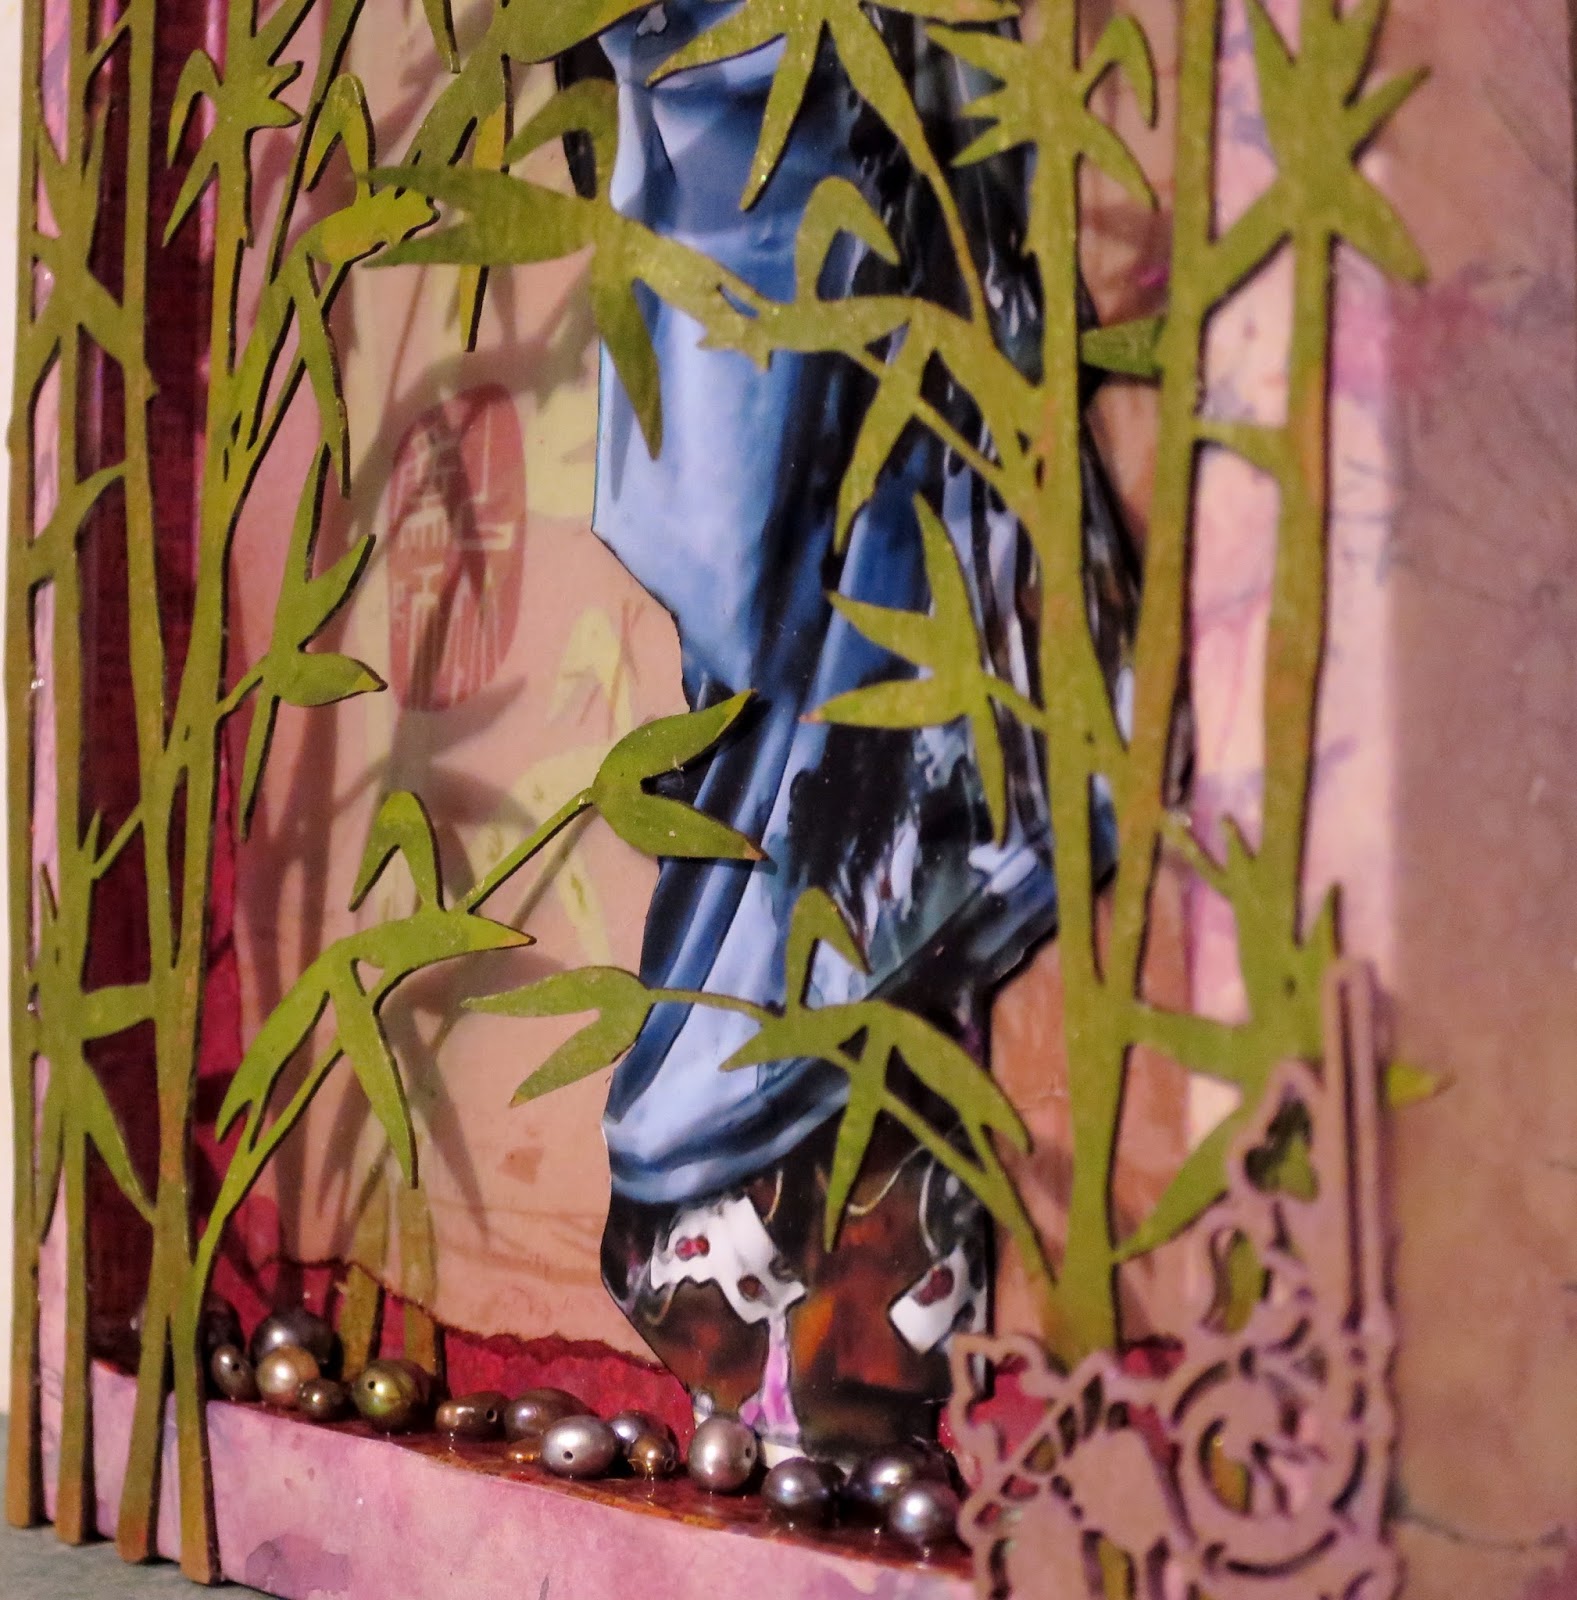
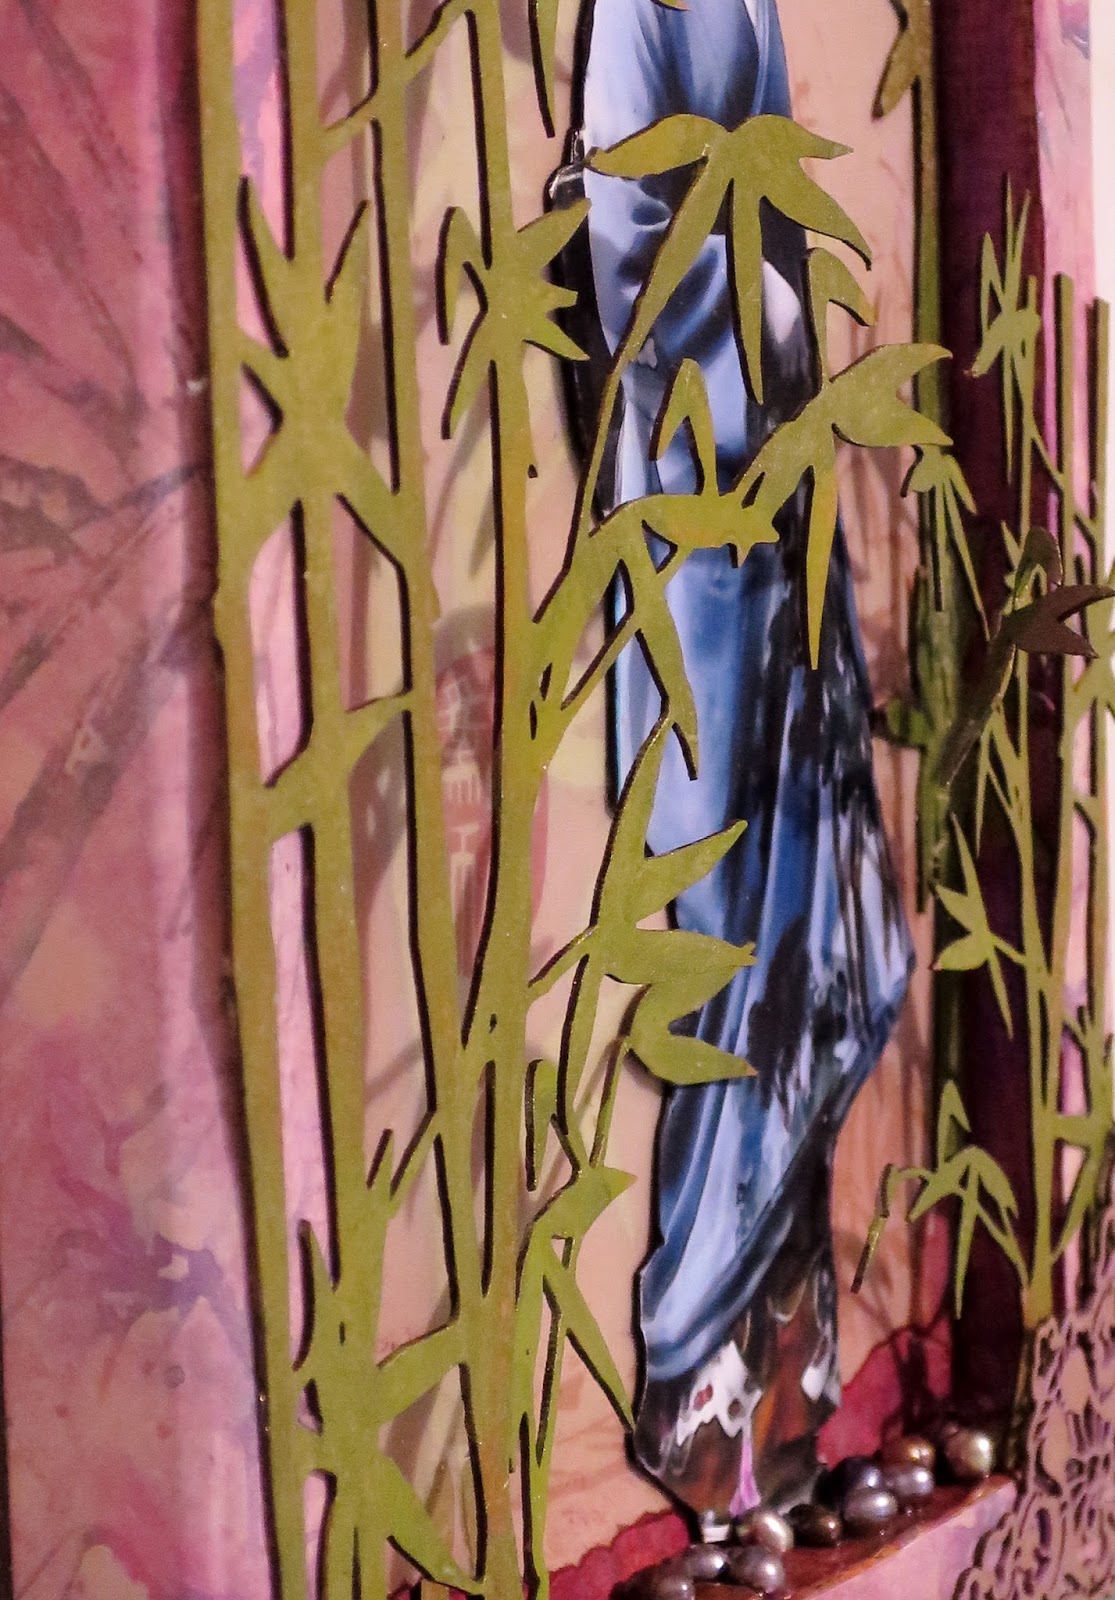
I hope you can see in the photos, the effect I was going for by gluing down some areas of the top bamboo against the background to give depth. 


For my title piece tranquility I used one of the Stackable Labels Shape Set.
This was attached by painting a wood stack and gluing it to the backside of the label.

 
 At some point, I decided I wasn't digging the vintage papers and covered them with scrapbook paper.


And for my final accents, I used a pair of corners from the Art Deco Corner Set which gave a nice finished and polished look. 


 I  really am pleased with how this turned out. Again, let me say just how beautiful and detailed the cuts are from Gina's Designs pieces! By now, you can tell that I am a fan!!
Gina's Design's Products used:
Bamboo Shape Set
Stackable Labels Set
Art Deco Corner Set

Other Products used:
DecoArt Media Fluid Acrylics
Colour Arte Paints


Thanks so much for the visit-see you next week!   Jackie

Friday, August 7, 2015

Tall Garden Cottage Tutorial

This month I have a pretty big tutorial to share.
There are loads of steps and it'll take some time to complete (especially when you factor in drying time), but I think it's worth it.
Created from Gina's 3 Story House, you could customize the contents to your own whims and tastes. Filled with little mementos, keepsakes and small photos it would make a wonderful gift for someone special.

Mine isn't quite so sentimental and will be home to little gnome and elf figures and collectibles :)


Don't feel rushed with this project. Enjoy the process of making it 'just-so' and the challenge of filling it with lovely little bits and bobs.


You can find the full video tutorial HERE. If you have any questions or are unclear about anything, don't hesitate to ask.

Gina's Supply List:

Other Supplies:
White Tacky Glue
Spackling (I used one that goes on pink and dries white)

Saturday, April 11, 2015

New Art Journal Cover

Hello everyone!!!! Shanna here with a different take on a recent art journal I made a little while ago. I  thought I loved it and well after looking at it a little more, and a little more, and then I decided I didn't like it.
So I went on a mission to make one a little more cleaner and nicer looking.
So lots of gesso, modeling paste, and a little color this one turned out perfectly as I envisioned it.
I love adding gears when I can to any projects that need an extra touch!
I love the bee and the labels just amazing and fun to layer it all.
I added a little black here and there and loved it.
Here you can see my layers.

Items Used:

Friday, April 10, 2015

Mixed Media Canvas by Kim F

Good morning friends! Today I am sharing a fun mixed media canvas.  
This is a 4 x 6 canvas I had in my stash and I love the white, blue and black theme.
I started of with a coat of white gesso on the canvas and then used my sprays in coordinating colours.  I then cut several squares with my 2 inch punch and layered them on top of the paint and sprays.
 Next, I got out some stamps and did some stamping in the background. Once that was complete it was time to put on my chipboard pieces.  I layered on some fun pieces from other sets in Gina's store, that is what I love about her shape sets, they have pieces in them that you can use on various projects.
Below here you can see the stackable labels I painted and used my alpha stamp on and then used Gloss Accents over it. I love the high gloss on it.
Thanks so much for stopping by today!

Gina's Designs Items Used

Other Items Used
Recollections Embossing Powder
Tim Holtz Stamps
Darkroom Door Alpha Stamps
Lindy's Stamp Gang Sprays
Ranger Fine Black Embossing Powder
Paper Artsy Beach Hut Paint 
Prima Metal
Blue Roses & Lace from Kraftsupplies4U
Paper Blooms, Chain, Pearl Bling From My Stash

Friday, April 3, 2015

Fairy Dust Bagatelle Boxes

I'm pretty excited about my first project for GinasDesigns.net.
Being a sucker for small things I was keen to play with the Bagatelle Boxes.
I had a few ideas but ended up creating a series of these fairy dust shrines.

Don't they look like they just came out of a fairy godmother's cupboard?!
The boxes come in six different sizes and can accommodate various sized bottles and vials. 
You can purchase a set of bagatelle boxes containing two of each size, or buy them separately.
For this blue bagatelle I've chopped up a plate from the Keys & Plates Shape Set to create the feet. 
(I give a little how-to in my video tutorial linked below.)

For this one I've used the Stackable Labels Shape SetI've used the the Miniature Bookplates Shape Set on some of the other boxes.

And just in case your handwriting is a little bit iffy, I've created an entire sheet of little labels of Fairy and Pixie Dust to fit all manner of little bottles and vials.

There's a full video tutorial for this project, and I really hope you'll take a peek and try your hand at making some magic of your own ;)

Gina's Designs Supply List:
Bagatelle Boxes
Miniature Bookplates Shape Set
Keys & Plates Shape Set

Other items used
Small Glass Bottles and Vials
Glitter3mm Brass Flat-Back Studs
Sandpaper
Krazy Glue
White Acrylic Paint
Aleene's Tacky Glue

Saturday, March 28, 2015

Altered ATC Shrine

Hi everyone, Shanna here with some spring to share!!!
I really wanted to have something bright and uplifting on my desk!
Something to remind me spring is here (even though it may not feel like it).
So I created a spring-like ATC Shrine. I love these little containers and it has been a while since I have played with one.
I added a label to the front titling this shrine "Happiness."  Each piece got a cover with gesso than with some Distress Paints. The purple I toned down with gesso.
I painted the shrine first with gesso than with Broken China Distress Paint. I then dry brushed gesso all over the container again.
I decorated the inside with Graphic 45 papers, moss, and a cute little butterfly, which was painted with Distress Paint and given a coat of Crackle Accents. 

Gina's Designs Items Used:

I do hope you are enjoying your current weather or that better weather is on the way! 

Related Posts Plugin for WordPress, Blogger...