Showing posts with label Gear Border and Corners Shape Set. Show all posts

Saturday, November 29, 2014

Shabby Steampunk Tag by Kim


 Happy Friday Friends! Today I would like to share with you my shabby steampunk tag. I used the Extra Large Tag from Gina's for my base. These tags are very cool and measure 8 inches high by 4 inches wide!   I started off by mod podging a lovely napkin with a vintage girl image on top, then layered some gorgeous laces and trims on the top and bottom from Craftsupplies1.


I cut up my Gears Borders and Corners set and layered them in her hair.  I embossed them in various colors of embossing powders, but keeping them in the vintage metal tones I wanted to achieve.  I then added some fun metal pieces like a hot air balloon on top of the gears, and some chipboard clock hands and a flower from Craftsupplies1.


 Here you can see one of Gina's chipboard pocket watches which I covered with some Prima Chalk Inks and surrounded with a metal clock hand, cameo and more beautiful flowers from Craftsupplies1.


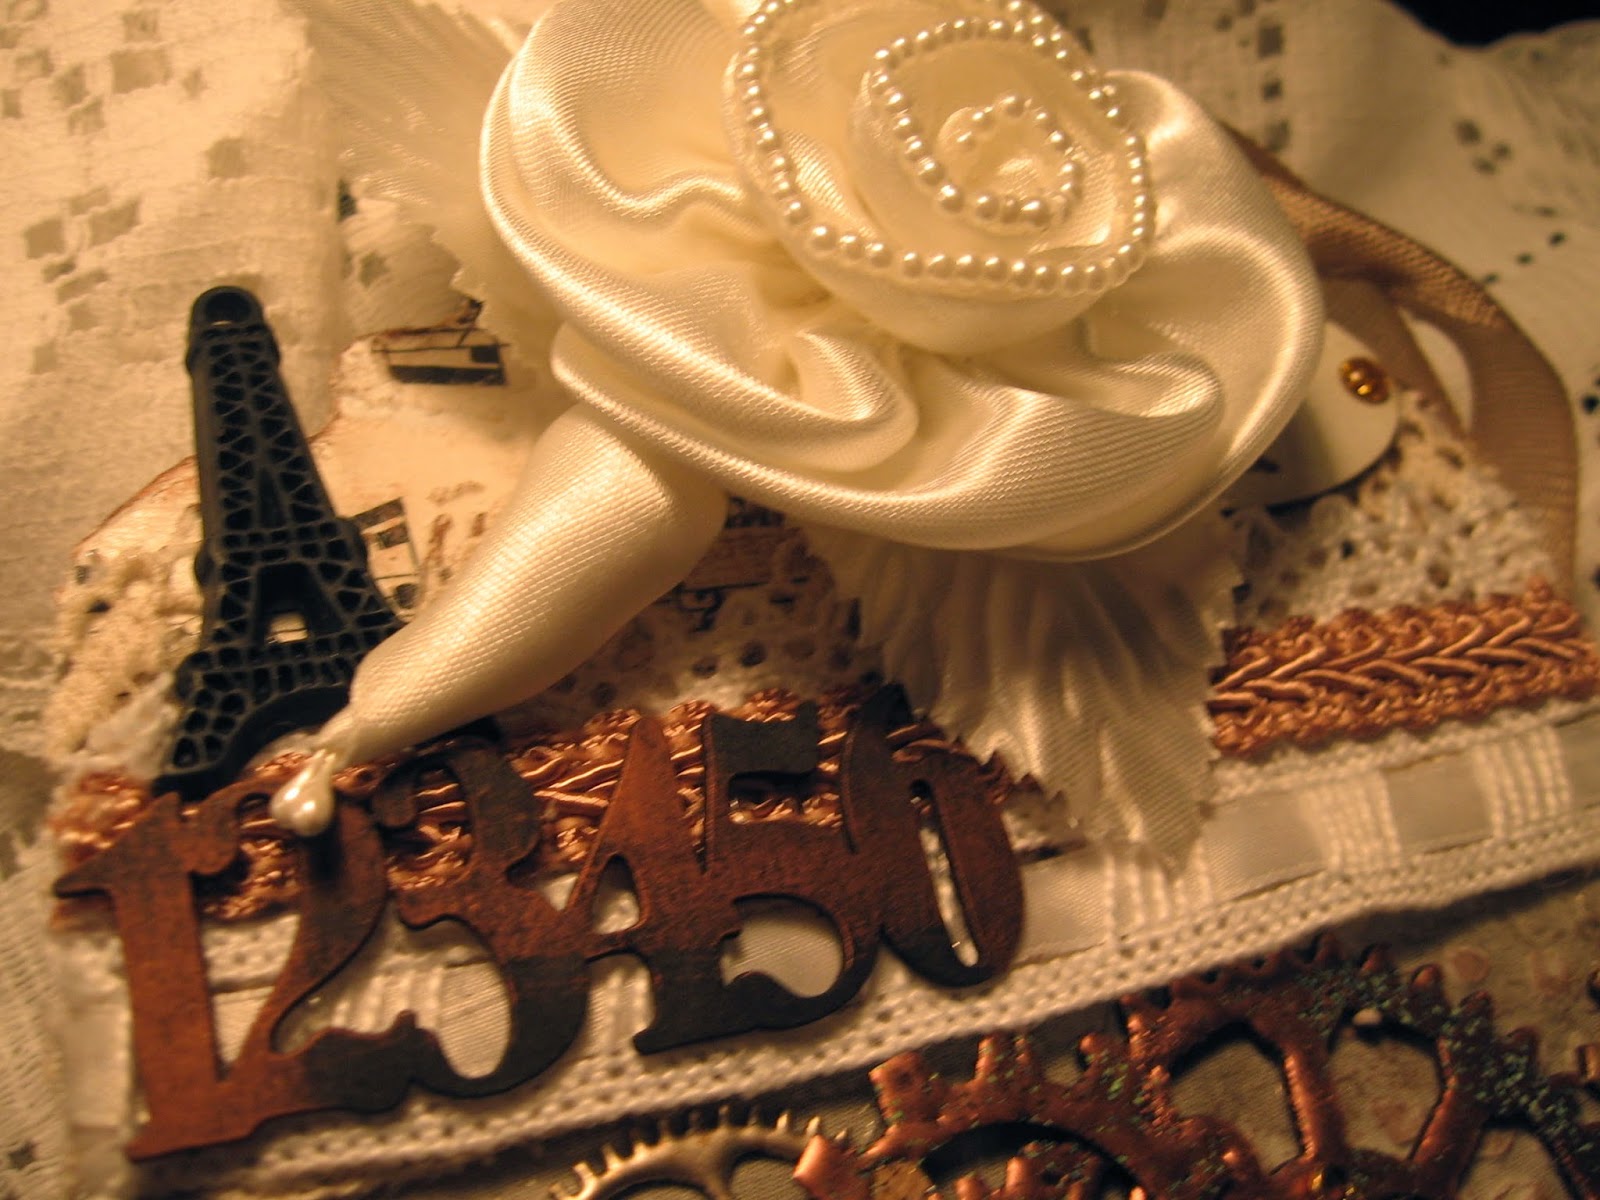
 I also used some of the numbers from the Chunky Borders Set, cutting them up and placing them on the tag after embossing them and adding some copper Gilder's Paste.


I love the shabby and vintage feel of this tag, and the gears that surround this lovely little lady!


Thanks so much for stopping by today!

Gina's Designs Items Used

Other Items Used
Vintage Girl Napkin and Resin Eiffel Tower From Shabbylishious
Flowers, Lace and Metal from Craftsupplies1
Cameo, Music Ribbon, Metal Clock Hand from My Stash
Art Is Stencil From Crafter's Workshop 
Prima Chalk Inks
Mod Podge
Copper Gilders Paste
Imagine Crafts Embossing Powders
Stampendous Shabby White Embossing Powder

Sunday, November 2, 2014

Mixed Media Canvas "Free Yourself" by Kim


Happy Sunday friends! Today I am sharing a mixed media canvas I created with lots of great items from Gina's Store.  I was inspired by my Shimmerz Products, and the colors of them. I used some of the soft muted Inklingz and Sprays to create the pastel background. I layered on some lace from my stash to give lots of texture and dimension.  
I then used my "art is" stencil, and used some of the Shimmerz texturez paste, and that completed my background.   I used some chalk paint on the dress form and then stamped on top of it with some lace to create a skirt on the form. The zipper pull I added finished it off.

The gears from the Gears Border and Corner set, were perfect to use! I cut apart the gears and used my Inklingz in gold and silver tones on them, and then layered it on top of some of the honeycomb from the Bee Set from Gina's.

I painted the Renata flourish white and added some gorgeous flowers and a metal key on top.
I am super happy how this came out, and love the soft and shabby vintage feel of the canvas.

I hope you have enjoyed my project today! Thanks for stopping by to take a peek!
 
 
Other Items Used
Petaloo Flowers
Wild Orchid Craft Flowers
Art Is Stencil
Lace from my Stash
7 x 7 Canvas
Prima Zipper Pull
Butterbeescraps Metal Clock Piece
 

Thursday, October 23, 2014

Mixed Media Steampunk Canvas by Nancy


Hello Friends, it's Nancy here, and today I'm sharing an altered inverted 8 x 10 canvas that I created in a fun Steampunk style.  The adorable image and the papers behind it were digital freebies that I had printed  previously but hadn't decided on a project yet.  I thought that the Steampunk chipboard shapes from Gina's Designs really complimented this image.  I used the techniques described below on the chipboard shapes.


The butterfly, the hot air balloon, and the gears corner at bottom right were first given a light coat of gesso.  I always use a light touch with the gesso, usually just a dry brushing with a fan brush,  because I like the natural shading it provides when some of the natural chip color is coming through.  I then used a variety of different colored gelatos on the butterfly.  I blended the colors with a touch of water then let it dry.  To get the distressed and grungy look I was after, I sanded it back so some gesso showed through.  I followed that with a touch of Prima chalk ink in a burnt orange color.  By that point you couldn't even tell that I'd ever used the gelatos, but with each layer of color you add, you'll get more depth and dimension as an end result.  I added a bit of stickles here and there, some bead connectors and I coiled some copper wire for antennae.  

On the balloon, I stamped a script stamp with perfect medium, then added shades of perfect pearls.  It has a beautiful sheen to it that doesn't show in the photos.  For the balloon overlay I embossed with copper embossing powder, sanded some of it off, then touched it up with Prima Chalk Ink in burnt orange.  

For the gears, I simply ran it through my Big Shot in a dry embossing folder, then rubbed it with different shades of Gilder's Paste.

For the chipboard Word Ribbon Title of "Explore", I rubbed the raw chipboard with Prima Chalk Ink in the burnt orange shade, added a touch of Tim Holtz tarnished brass Distress Paint then rubbed gesso over the letters.

There's more info on how I created the texture on the canvas and the grungy flowers on my blog HERE.

Gina's Designs Products Used:
Gears Borders and Corners Shape Set

Other:
Digital paper "freebies" from Ephemera's Vintage Garden


Friday, June 27, 2014

Mixed Media Canvas by Kim "Discoveries"

Happy Friday everyone! Today I have created a fun mixed media canvas using some of Gina's amazing products.
I have used the Flourish Circle Frames as the main focus on my canvas, and used several layers of mixed media on them, including paints, inks, texture paste and Tim Holtz distress paint.  In the center of the Flourish Frame, I have placed a bee which I made from some clay.

Below you can see some of the techniques I used on the Flourish.
I embellished around the Flourish Frame with some lovely flowers in whites, blues and yellows, along with some of the gears from the Gears Borders & Corners Set.  I also used one of the Steampunk doilies.  After distressing it, I cut the gears out from the doily and tucked them in with the flowers. In the background you can see some of the Chain Link Fence, which I embossed in black to contrast with the bright colors I used.  I topped that area off with some of the numbers from the Chunky Borders set.
I used a sentiment stamp from Rubbermoon as you can see below.  It is a quote by Picasso, which I just love. To the right you can see a close up of the Numbers from the chunky borders set, which I embossed.
I hope you have enjoyed taking a peek at my canvas today, thanks for stopping by!

Gina's Designs Items Used

Other Items Used
Lindy's Stamp Gang Mica Powders and Sprays
Prima Wing, Light bulb, Zipper and Clock
Rubbermoon Picasso Stamp
Wild Orchid Craft Flowers
Craftsupplies1 Flowers
Tim Holtz Metal Sentiment
Ranger Distress Paint
Delta Soy Paint Turquoise
Iced Enamels Embossing Powder


Monday, June 16, 2014

How To Make Clay ATC's With Chipboard Impressions Tutorial

Clay ATC Tutorial Using Gina's Designs Chipboard

Hello Everyone, Kim here! I thought it would be great to start off the week with a bit of a tutorial. I got out some of my oven bake clay and some of Gina's chipboard pieces and started to play around with the idea of making impressions in the clay with the chipboard. I have made these into clay ATC's, but this would work with anything or any type of shape you wish to create, the chipboard makes great impressions in the clay!

I began by rolling out my clay to about 1/8'' thick and then the size of an ATC, which is 2 1/2'' x 3 1/2'', pictured below.

Next I chose some chipboard and laid them out in a random pattern and pressed firmly into the clay.


As you can see I have used various pieces of chipboard to make some impressions, gears, chain, bees and honey comb, and even some dragonflies! Everything seemed to work great to make the impressions!


The next step is bake the clay, which you must read the box on your clay and follow the manufacturer's directions. Mine was baked at 270 degrees for 15 min.
Once the clay was baked, then cooled, it was time to paint and decorate it. I used gesso on my 3 clay ATC's, which you can see below. 

Next it was time to get out some fun items to decorate your ATC. I have used several colors of Lindy's Stamp Gang Sprays, Embossing Powders and Mica Powders. But, you can use what ever you have on hand. Think outside of the box, and decorate your clay with what ever you like, now that it is baked, anything really goes!


After you have your background done, its time to play with the chipboard, here below you will see how I decorated some of the dragonflies from Gina's store.

Once you have altered your chipboard pieces, then you can add other embellishments to finish off your ATC's. I have added more clay pieces that I created from some molds I have in my stash along with some metal pieces and flowers.


.....And finally, here is the finished product! 

 I am very happy with how they came out! I hope you will try this, it was a lot of fun to do, and just let your imagination, and your chipboard, run wild!


Thanks so much for stopping by today, I hope you like my little project!
Happy Crafting!

Gina's Designs Items Used

Other Items Used
Shimmerz Gold Mine Texture Paste
Lindy's Stamp Gang Mica Powders, Embossing Powders and Sprays
Stampendous Glitter Glass
Sculpey Oven Bake Clay
Creative Air Dry Clay(for the Wing on the Blue ATC)
Molds from My Stash
Tim Holtz Metal Word Band
Prima Junkyard Findings
Rosette Do-Dads from Shabbylishious


Monday, June 9, 2014

Steampunk Mask by Kathi

Hello, Kathi here to share my project for the week, a steampunk Masquerade Mask.  I used many steampunk embellishments, starting with gears from Gina's designs

 Close up of lower right of mask
 View of Lower left of mask, key, screws, spinner, pen nibs
I created a handle out of a dowel wrapped with black silk ribbon, then added feathers & beaded fringe.

Supplies Used:
Gina's  Designs Lasercuts:
Other supplies Used:
Metal, flower, screws, washers, brads,
Tim Holtzs, Pen Nibs, Gears, Muse tokens
Paper Line - Tattered Times
Silk ribbon
Black Feathers

Sunday, May 18, 2014

Steampunk Fun with Jennifer & Cards by Heidi

 
Hello Crafty Friends! Today we are excited to share some more amazing items created by our Guest Designer Jennifer. She has gone Steampunk Mad this time, and we are thrilled to show you her creations. First up is a gorgeous steampunk butterfly necklace!
 

Jennifer relayed this to us.  "I made this Steampunk butterfly and used two gears and watch parts from stash.  I got many compliments on this piece!"
 
Gina's Designs Items Used
 
Next up is her Mardi Gras style mask, it is truly a work of Art!

 
From Jennifer: "For the Steampunk Mardi mask I covered the chipboard mask in embossed leather, then embellished with Gina's chipboard items."
 
Items used from Gina's Designs
 
And last, but not least, here is Jennifer's Steampunk Dressform Cage. This is a New item in our shop, we also have it as a Hot Air Balloon as well. Jennifer has really outdone herself with this piece as the propellers actually work!
 
Gina's Designs Items Used
 
Now over to Heidi who has some lovely little cards to share with us!
Project number one is a card.  My son is a pilot so as soon as I saw this cute litte (masculine) airplane I knew I had to make a card to mail out to him.  So back up a few weeks and he explained what he envisioned a cool card to look like.   So this is my take on our discussion for him.  I painted the little airplane clip white and the rest is clear embossing.
  I thought I needed to start working on graduation cards since this will be a big year for graduates with our friends and family.   So this is the first one I made- kept it simple but fun I think.  The frame is just cut out of red cardstock.  The cap is chipboard that I painted black and then covered with glaze to give it a little sheen: little red stickles on the tassle. 

This graduation set is so perfect this time of year to be making graduation invites and cards- check them out! 

Products

Related Posts Plugin for WordPress, Blogger...