Showing posts with label Chunky Borders. Show all posts

Saturday, November 29, 2014

Shabby Steampunk Tag by Kim


 Happy Friday Friends! Today I would like to share with you my shabby steampunk tag. I used the Extra Large Tag from Gina's for my base. These tags are very cool and measure 8 inches high by 4 inches wide!   I started off by mod podging a lovely napkin with a vintage girl image on top, then layered some gorgeous laces and trims on the top and bottom from Craftsupplies1.


I cut up my Gears Borders and Corners set and layered them in her hair.  I embossed them in various colors of embossing powders, but keeping them in the vintage metal tones I wanted to achieve.  I then added some fun metal pieces like a hot air balloon on top of the gears, and some chipboard clock hands and a flower from Craftsupplies1.


 Here you can see one of Gina's chipboard pocket watches which I covered with some Prima Chalk Inks and surrounded with a metal clock hand, cameo and more beautiful flowers from Craftsupplies1.


 I also used some of the numbers from the Chunky Borders Set, cutting them up and placing them on the tag after embossing them and adding some copper Gilder's Paste.
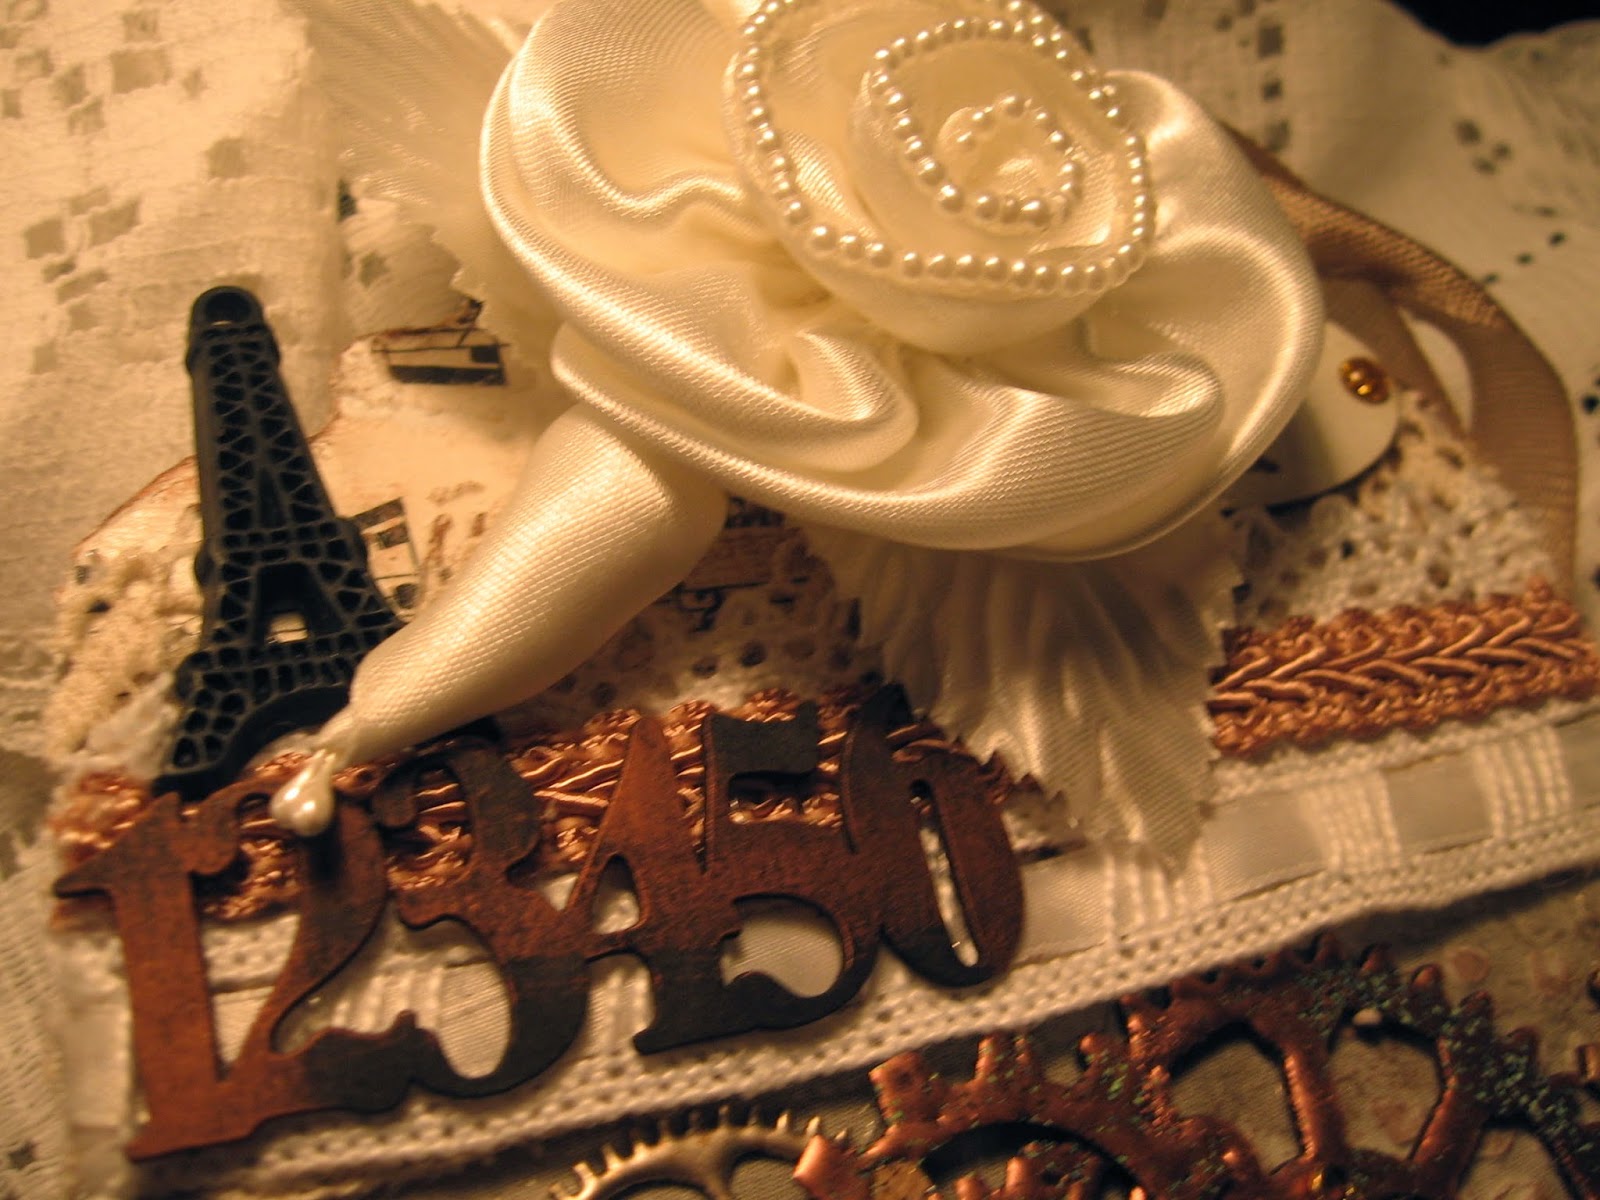


I love the shabby and vintage feel of this tag, and the gears that surround this lovely little lady!


Thanks so much for stopping by today!

Gina's Designs Items Used

Other Items Used
Vintage Girl Napkin and Resin Eiffel Tower From Shabbylishious
Flowers, Lace and Metal from Craftsupplies1
Cameo, Music Ribbon, Metal Clock Hand from My Stash
Art Is Stencil From Crafter's Workshop 
Prima Chalk Inks
Mod Podge
Copper Gilders Paste
Imagine Crafts Embossing Powders
Stampendous Shabby White Embossing Powder

Friday, June 27, 2014

Mixed Media Canvas by Kim "Discoveries"

Happy Friday everyone! Today I have created a fun mixed media canvas using some of Gina's amazing products.
I have used the Flourish Circle Frames as the main focus on my canvas, and used several layers of mixed media on them, including paints, inks, texture paste and Tim Holtz distress paint.  In the center of the Flourish Frame, I have placed a bee which I made from some clay.

Below you can see some of the techniques I used on the Flourish.
I embellished around the Flourish Frame with some lovely flowers in whites, blues and yellows, along with some of the gears from the Gears Borders & Corners Set.  I also used one of the Steampunk doilies.  After distressing it, I cut the gears out from the doily and tucked them in with the flowers. In the background you can see some of the Chain Link Fence, which I embossed in black to contrast with the bright colors I used.  I topped that area off with some of the numbers from the Chunky Borders set.
I used a sentiment stamp from Rubbermoon as you can see below.  It is a quote by Picasso, which I just love. To the right you can see a close up of the Numbers from the chunky borders set, which I embossed.
I hope you have enjoyed taking a peek at my canvas today, thanks for stopping by!

Gina's Designs Items Used

Other Items Used
Lindy's Stamp Gang Mica Powders and Sprays
Prima Wing, Light bulb, Zipper and Clock
Rubbermoon Picasso Stamp
Wild Orchid Craft Flowers
Craftsupplies1 Flowers
Tim Holtz Metal Sentiment
Ranger Distress Paint
Delta Soy Paint Turquoise
Iced Enamels Embossing Powder


Wednesday, June 4, 2014

Steampunk Cage by Kim

Hello Everyone! Today I would like to share with you this very cool Steampunk Hot Air Balloon Cage. This was tons of fun to play around with, and I have done it up in a Shabby Grunge type of style.

 Here you can see the top of the balloon where I have done some fun treatment to it. I really wanted to give a textured look to it so I first painted it all with some white gesso, then used some glaze paint, then embossed it. I have backed the balloon with some decorative paper. You can also see some of Gina's Wrought Iron Corners, a Tim Holtz number plate and a couple of flowers to finish this part off. I also used another of the Wrought Iron Corners on the base of the top gear of the cage, I really love these, they added a lot to my project by just embossing them and adding a few little embellishments.
Below here you can see one of the Propellers and some gears from the Steampunk Shape Set.


 Below here you can see I have embellished the gears of the cage. I first added more texture to the piece after I painted it up with white gesso, then used some Gilders Paste in Silver and Patina color, and then added some Glossy Accents to the top of it. I lastly sprinkled some Stampendous Colored Mica Flakes in a pretty blue color.  I did a similar treatment to the side of the cage which you can see in the second photo below.


To decorate the base of the cage I have used some of the Clock hands, more of the Gears from the Steampunk Shape Set, and some of the Number Borders from the Chunky Border Set. A few metal pieces, a Prima Clock and light bulb sentiment and some more flowers completed the base.
I hope you will check out these amazing goodies in Gina's Store!
Thanks for stopping by today!
Gina's Designs Items Used
Other Items Used
Marion Smith Nirvana Paper
Prima Lightbulb and Resin Clock
Flowers from Craftsupplies1
Black Flowers from Wild Orchid Crafts
Stampendous Mica Flakes and Shabby Blue Embossing Powder
Stampendous Aged Gold and Aged Silver Embossing Powder
Metal Gears and Filigree from Butterbeescraps
Tim Holtz Number Plate
Silks Acrylic Glaze

Related Posts Plugin for WordPress, Blogger...