Showing posts with label Chipboard Decorative Tags X Large. Show all posts

Monday, May 11, 2015

Happy Birthday, Gina's Designs!

In my life, April and May are huge birthday months. It seems like most of my friends and family were born in the spring, so it wasn't a big shock to me that Gina's Designs celebrates a birthday this month too.
I knew I wanted bright primary colors for this project, so I began by putting a layer of gesso on all my pieces to really make the colors pop. I then sponged light blue for the sky and white for clouds onto the big tag.
I painted the airplane bright red. 
Once it was dry, I embellished it with Liquid Pearls and Pico Embellishers.
I painted the sun bright yellow and gave it a few spritzes of irRESISTible spray in neon yellow.
For the Happy Birthday piece, I began by painting it a medium blue. Once the paint had dried, I went over it again with StazOn Studio Glaze in a matching blue to give it some shine.
All that was left to do was assemble my project, and I was done!
'Til next week, I wish you all happy crafting!

Gina's Designs Products Used

Other Products Used
Acrylic paint
Gesso
StazOn Studio Glaze
irRESISTibles Pico Embellisher and Spray
Ranger Liquid Pearls
Silver cording

Monday, March 30, 2015

Easter Tag by Dianna

Hi Everyone, Dianna here with a Easter tag made with Gina's Designs X Large Tag and Easter Shape Set (coming soon).
The paper used is Doodlebug Designs "Hello SunShine".  I covered the tag and lightly distressed the edges.  I painted the Gina's Designs frame, lamb and chick with white acrylic paint. Texture paste dyed green was used to create the base for the "grass", which is actually green paper Easter grass.
I wanted the chick to stand out, so I searched my stash of stuff and came upon white Flower Soft.  I spritzed the Flower Soft with a yellow Myra Mist and it worked.  Now, I had yellow fluffy stuff for the chick. (Note: a word of warning, I spritzed too heavily and it took two days to dry).  I used a yellow Copic Marker, colored the chicks body and used an orange for the beak.  I put glue everywhere, except the beak and spread the now yellow Flower Soft on the chick.  It dried pretty quickly, I had already cut out the egg shape so I used a chipboard spacer to give a little dimension between the egg and the chick.  A black gem for the eye and the chick is done!  The other two chipboard eggs were covered with paper and Prima chicks were used to decorate.  The edges were daubed with glitter glue.  Gina's "Basket Full of Joy" was inked in green and daubed with green and white glitter glue.
I used white and gray Copic Markers on the the lamb then decided to cover the lamb in Flower Soft too, since it worked so well on the chick.  First I put glue all over the lamb except for the face and then covered the lamb in Flower Soft.  Now I have a fluffy white lamb!  Two gems for the eyes, a pearl for the nose and a hand drawn mouth finish the little lamb.
Julie Nutting's new Audrey Mixed Media Doll Stamp was changed up a bit in order to hold the basket and sit down.  The skirt was cut at the bottom to the first pink band.  The legs were cut off and a chipboard filler piece was used under the feet and at the knees (this gave the legs the appearance of bending.  I used Julie Nutting's Strapless Dress Doll's other arm to create the arm holding the basket.  I gave Audrey more of a bust line in order to hide the fact that the arm is a little different.  I then stamped the bow from the Strapless Dress Doll and used nail gems for the neckline.  The Basket is a die cut and the flowers were cut from the Doodlebug paper, glitter glue was daubed on the flowers and gemstones were placed in the middle.  The cute blue bird is a brad from Doodlebug.  The stamp phrase is from Taylored  Expressions.  Gina's frame was daubed with green, white and pink glitter glue, while the glue was still wet I applied flaked glitter and seed pearls. 
Thank you for looking!

Gina's Designs Items Used

Other Items
Julie Nutting - Audrey Mixed Media Doll Stamp
- Strapless Dress Doll
Doodlebug Designs - paper
Taylored Expressions - basket die
                                          - stamp phrases
                                  - bird brad


Tuesday, March 17, 2015

St. Patrick's Day Tag by Dianna

Hi Everyone, Happy St. Patrick's Day! Being part Irish, I just simply had to do something with Gina's Designs Chipboard and my Prima Media Doll Stamp.
I started with Gina's X-Large Tag and covered with Authentique "Lucky" Collection paper.  The Layered Border (Victoria) from Gina's Designs comes in two layers. I used gold Stickles on the bottom layer and Sparkling H20s on the top layer to give the chipboard more color.  The ivy under the Irish Blessing is Gina's Ivy Corners, which I spritzed with Fireworks Spray and Stickles.  I cut out the Irish Blessing, the shamrocks "Lucky", the large and small shamrock  from Authentique "Lucky" Collection.  I used two different Stickles on the shamrocks in caldron.  I painted Gina's caldron black then used green Stickles,  The phrase "May your blessings outnumber the shamrocks that grow...." is cut from the top of the Authentique paper.
I used Julie Nutting's Media Doll and stamped doll dress twice using the Authentique paper.  I then layered the dress and cut the "folds" of the first layer of the dress to give the dress more fluff.  I created sleeves with the solid green paper and placed an extra clover in her arm.  The top hat was cut out of the Authentique paper.  I used Copic Markers on the hair, body and shoes. 

Gina's Designs Items Used

Other Items
Julie Nutting Media Doll
Authentique - Lucky Collection
Copic Markers

Sunday, March 8, 2015

The Moon Sees Me Tag by Mary

Happy Sunday, folks! I have a cute tag for my Gina's Designs DT project featuring stamps by RubberMoon! When I saw the "See the Moon Words" stamp, I thought of the Celestial Shape Set from Gina's!
I started by using one of Gina's x large chipboard tag and applied gesso to it. After the gesso was dried, I used various sprays, drying between different colors. Once I achieved a color, I used the inksplat stamp
All the chipboard pieces had a layer of gesso applied to them. After that I painted the shapes with appropriate colors. On the cloud I used RubberMoon's "See the Moon Words" stamp.
Gina's Designs Products Used:

RubberMoon
mixed media inksplat -art stamp
see the moon words

Other Products Used:
Paint: Medium Yellow, Yellow Ochre, Deep Yellow, Brilliant Blue, Lamp Blue, Butter Milk
Gesso
Lindy's Stamp Gang: Danny Zuko's Denim, Whale Water Blue, Ocean Blue, Tiffany Lou Blue, Bachelor Button Blue
Ribbon from my stash
glitter

Monday, February 16, 2015

Steampunk Tag by Dianna

Hi Everyone, Dianna here with a Valentine with a Steampunk Twist.  I really could not help myself as soon as I seen the Bo-Bunny Paper "Star-Crossed" line, I just knew that it would look wonderful with Gina's Designs Eiffel Tower and Clockwork Penny Farthing.  I also wanted to include a heart for the Gina's Designs February Craft Group Challenge, so of course I went with a Steampunk heart.
I covered a Gina's Designs X-Large Chipboard Tag with the Bo-Bunny Paper, used Vintage Photo and Black Soot to distress the edges.  I used Black Soot on the Eiffel Tower as a base coat and then used Stickles in three different colors to give it dimension.  The card stock doilies were spritzed with Ranger Sparkling H20's in a spritzer with a lot of water.  I have having a heck of a time with clogging of the normal Ranger Sprays so I made my own.  I will let you know on my next blog update if it worked or if that clogged too.   The Steampunk Heart and Clockwork Penny Farthing were "painted" with chalk ink in a bronze color, then distressed and Stickled.
The Julie Nutting Media Doll was colored with Copic Markers and Bo-Bunny paper was used for her dress.  The underdress was spritzed with water and folded a couple of times (fan like) to get the ruffled effect.  I created a sleeve out of left over paper from the underskirt.  The opposite side of the striped paper is hearts (which is really cute).  I used red Stickles and dotted the hearts for extra sparkle. The suitecases are from a really cute Stamping Bella Stamp that I stamped, colored with Copic and cut out.  The Gina's Designs Art Deco Border was painted with gold chalk ink and spritzed and Stickled to create a tarinshed look.
Sparkling H20 was used on the Balloon and then brushed corduroy Stickles was used to create a rope look.  I Stickled the teal paper to give more depth to the balloon.  I included a couple of pictures of the balloon because you really cannot see it well in the overall photo.
 Finally, I stamped the RubberNecker Stamps on plain cardstock and distressed the edges with bronze chalk ink.
 Gina's Designs Products Used:
Cardstock Doily Set Intricates 
Eiffel Tower 6 inch
Clockwork Penny Farthing
Steampunk Hearts
Chipboard Decorative Tags X Large
Art Deco Boarder & Corners
Hot Air Balloon Shape Set

Wednesday, February 4, 2015

Valentine's Day XL LOVE Tag by Guest Designer Heather Hudson

Hello Friends!! Heather here today and I am sooooo excited to be Guest Designing here at Gina's Designs!!
I just love her chipboard pieces!! My first project of the month is my
Valentine's Day XL LOVE Tag!!
Here are a couple close ups of my piece.
You can see below one of the hinges I used.  I simply painted it with white gesso and then added some green to look like leaves. I also gave it a touch of blue for some depth.  My whole piece was covered with Clear Gel Tar from Golden Acrylics (you could use a gloss medium, in the same way).
I covered the Scribble Bird Frame in white gesso and then multiple colors of paint. I applied the gel tar and then doodled.  I decided to doodle on pretty much all of my tag pieces using a Pigma Black Micron Pen.
 As soon as I saw the brick sheet of Gina's, I knew I would be using some of the bricks for sentiment blocks...yummy!!  You can get a pretty good look at my doodling below.
I just love the typewriter letters in GOLD!!  The best part is that you can order the letters that you WANT...wooo hooo...so no more letters you don't use...that go...hmmm...what can do with this??  LOL
Here are the links to all the fabulous pieces of chipboard I used:

I have also used 

All images and papers are ones that I designed.

I hope you have enjoyed my post today!!
If you would like to see this tag in the making with more detailed directions of what I did to Gina's Chipboard Pieces, hop on over to my blog and check out the steps.
Thank you for visiting us at Gina's Designs today!!
See you Next Wednesday!!
Hugs!!

Sunday, January 25, 2015

Winter Tag with The Robin's Nest paper

Good morning Crafty People!
Today I have a winter tag using Gina's X-large tag for the base.
I started by covering the tag with paper from The Robin's Nest.
I then inked and painted three pine trees from the Pine Tree Shape Set. I glued the largest pine tree to the tag. The two smaller trees are elevated at two different heights.
To finish the tag, I inked a deer with brown distress ink, and added white gesso to look like snow.
Thanks for looking at my tag :)
(((HUGS)))
Deann
Gina's Designs Products Used:
Other Products Used:

Monday, December 22, 2014

"And the Stockings Were Hung..." Tag by Mary

Happy Monday! I have a fun Christmas tag for you today. The tag is one of the three tags form the Chipboard Decorative Tags X Large set.  To give the wall a bricked look, I stenciled the tag with the Texture Sheet - Brick Wall  using several of distressed inks. I cut a small section from the bottom of tag and made a back box with it to simulate a fireplace. The next time I come across a small branch, I will have to gather it for logs!

For the stockings, I painted them red, used ink on the edges and a cotton ball for the "fur" look. The middle stocking is stamped with a snowflake stamp.

Gina's Designs Products Used 

Other Products Used
Please visit my blog HERE.

Merry Christmas!

Saturday, November 29, 2014

Shabby Steampunk Tag by Kim


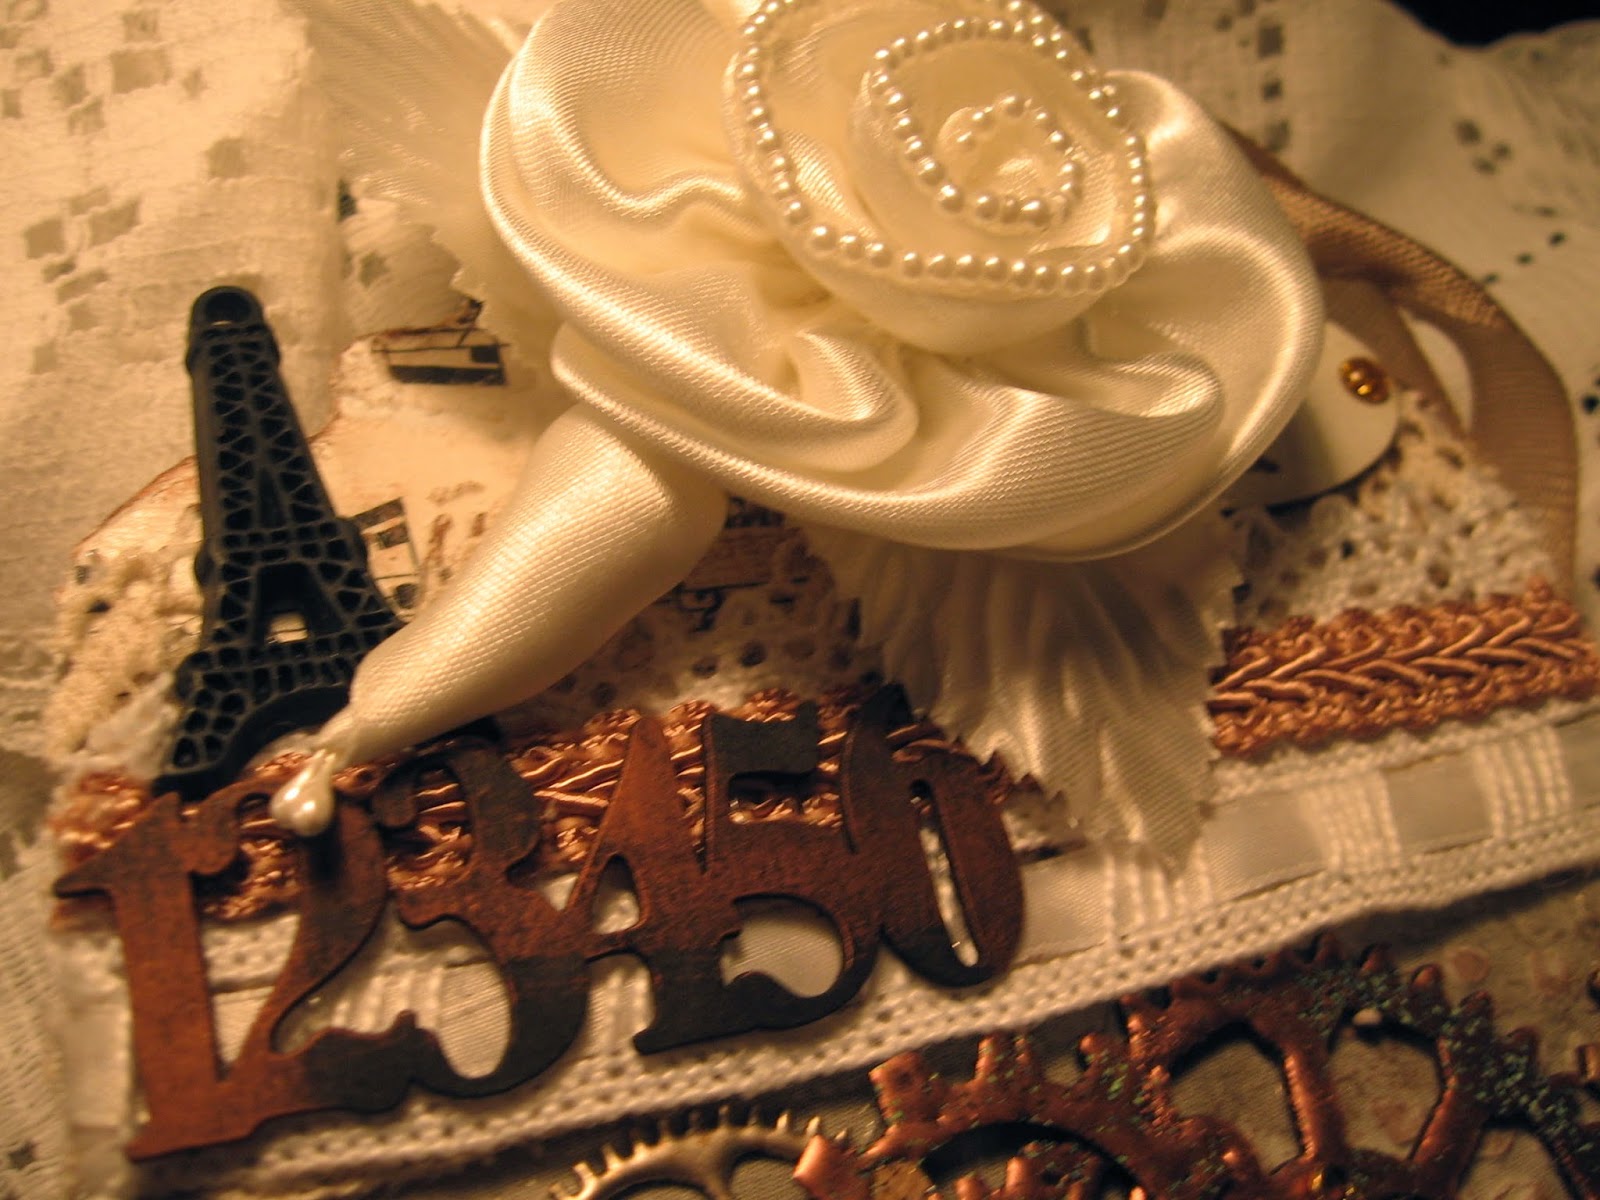
 Happy Friday Friends! Today I would like to share with you my shabby steampunk tag. I used the Extra Large Tag from Gina's for my base. These tags are very cool and measure 8 inches high by 4 inches wide!   I started off by mod podging a lovely napkin with a vintage girl image on top, then layered some gorgeous laces and trims on the top and bottom from Craftsupplies1.


I cut up my Gears Borders and Corners set and layered them in her hair.  I embossed them in various colors of embossing powders, but keeping them in the vintage metal tones I wanted to achieve.  I then added some fun metal pieces like a hot air balloon on top of the gears, and some chipboard clock hands and a flower from Craftsupplies1.


 Here you can see one of Gina's chipboard pocket watches which I covered with some Prima Chalk Inks and surrounded with a metal clock hand, cameo and more beautiful flowers from Craftsupplies1.


 I also used some of the numbers from the Chunky Borders Set, cutting them up and placing them on the tag after embossing them and adding some copper Gilder's Paste.


I love the shabby and vintage feel of this tag, and the gears that surround this lovely little lady!


Thanks so much for stopping by today!

Gina's Designs Items Used

Other Items Used
Vintage Girl Napkin and Resin Eiffel Tower From Shabbylishious
Flowers, Lace and Metal from Craftsupplies1
Cameo, Music Ribbon, Metal Clock Hand from My Stash
Art Is Stencil From Crafter's Workshop 
Prima Chalk Inks
Mod Podge
Copper Gilders Paste
Imagine Crafts Embossing Powders
Stampendous Shabby White Embossing Powder

Friday, October 31, 2014

Large Tag by Dianna

Hi everyone, Dianna here with a Halloween Witch just in time for October 31st.  This is a cross-promo with Craftsupplies1.


Gina's Designs X-Large Tag was covered by black paper from Kitty's Scrap Post - O'Halloween.  A spiderweb die cut was used to create the large orange spiderweb on the left hand side.  The moon from Kitty's Scrap Post - O'Halloween was placed on scrap chip board and placed at the top of the spiderweb.  Gina's Designs Boo! was painted with black gesso and distressed with orange and black Stickles.  The witches hat and broom was from a Graphic 45 stamp set.  The black copic marker was used on the hat, the green copic was used on the band and green Stickles.


The fence is from Gina's Designs Beach Shape Set, was painted with black gesso and distressed with gold and black Stickels.  Pumpkins from Gina's Designs was painted with white acrylic paint and copic markers was used to create a rind effect on the pumpkins. The stems of Acrylic Orange and Brown flowers from Craftsupplies1 was colored with copic green marker and then curled with a pencil. The flowers were placed on the vines of the pumpkins.

 Julie Nutting - Mixed Media Doll Stamp Tasha with Evening Dress was stamped on an old book and black paper, then a spiderweb was created with Stickles and a green glitter netting was placed behind her create a fuller dress look.  A Gina's Designs Spiderweb was painted black with gesso and distressed with Stickles, a spider was placed next to both spiderwebs.  There are two Cardstock Doily Set Intricates from Gina's Designs were distressed with black ink and placed under the witch.  The Owl from Craftsupplies1 was colored with a black marker, just enough so that the gold shines through, two black rhinestones were placed in the owls eyes.  The owl was placed right above the witch.  The ribbons are from my stash of halloween ribbon.
Items Used
Gina's Designs 
Craftsupplies1
Kitty's Scrap Post

Wednesday, June 18, 2014

Layout by Melissa

Hi everyone. Melissa here with a 12x12 layout using Gina's Designs Lasercuts.This photo is taken in the ghost town of Bodie, California . Bodie produced more than $35 million in gold and silver.

 My Father-In-Law passed away on May 28th.  This is a tribute page about him that I made for my husband, Rich. I am going to put it into a scrapbook frame for him to put in his study here at home.   Rich picked out the photo , it's his favorite one of the two of them.

Everything on the page is symbolic of Einar and his interests in life. There is hidden journaling written on canvas on a tag.  The images are from Swedish wrapping paper I've saved from Christmas gifts from him.

To prepare the chipboard, I painted them all with gesso. On the compass I put on Viva Decor Precious Metal Color in bronze.  I painted a lot of the edges with black acrylic paint.  I applied Mod Podge Dimensional Magic, and sprinkled on a little clear glass glitter while it was wet.  The lobster is red glitter poured on wet glossy accents. The rest of the chipboard  was painted with lumieres, some were over texture paste, with the gloss on top. I used embossing powder on the hammer, and saw, then gloss. On the ships wheel I embossed with gold, then put on a bit of brown ink, followed by a coat of gloss.
Thanks for looking.


Chipboard used:


Other products used:

Papers by UHK gallery, Winter is Coming
Winton and Lewis Watercolors
Viva Decor Precious Metal Colour
Alphas, metal corner by Jim Holtz
Mod Podge Dimensional Magic
Gold and silver embossing powders
Lumiere acrylic paint

Saturday, January 11, 2014

Valentine's Day Tags Featuring the Robin's Nest.

Hi everyone, Mary here.  I hope that everyone's 2014 is going well!  Today I am sharing two Valentine tags I've created featuring papers from The Robin's Nest, and the new X-large chipboard tags from Gina's Designs.


For the "Be Mine" tag , I began by papering the chipboard tag with the Red Glitter Paisley paper from the Robin's Nest.  I embossed the "be mine" from the Word Art Romance set with red and black.  I backed the "B" with the Classic Roses paper from the Robin's Nest.  The hearts and cupid are from the Cupids Shape Set.  The hearts are embossed with red and white.  The cupid was embossed, and then stamped with a script stamp.  I adhered one of the intricate doilies to the side of the tag along with a metal piece and a heart.  I tied several pieces of white seam binding on the top.


For my other tag, I used the striped, or "B" side of the classic roses paper from The Robin's Nest.    I added a piece of lace and a pearl strand from my stash along the side.  The hearts from the Valentine Shape Set and Word Art Romance set were embossed and then backed with the Red Glitter Paisley paper.  I added a metal corner and flower cluster to complete the look!


Gina's Design Products Used:

Robin's Nest Products Used:

Other Products Used
Embossing Powder - Lindy's Stamp Gang & Ranger
Lace
Metal - ButterBeeScraps
Flowers/Spray - Craft Supplies 1, Lavish Laces
Pearl Strand
Seam Binding


Related Posts Plugin for WordPress, Blogger...