Showing posts with label Button Shape Set. Show all posts

Monday, August 17, 2015

Dreamin' by Barb


This month Gina's Designs is doing a cross promo with The Robin's Nest. It's always so exciting to try a new product! I was inspired by the dreamy look and colors of the Dew Drops that The Robin's Nest carries.

I began by using a stencil to create the background on canvas. I did this using sponges and ink as well as sprays. I just played until I got the rich layers I was shooting for.

For the buttons, I began with a layer of gesso and then coated them with all sorts of different things - ink, StazOn Studio Glaze, Gel Medium, rubber stamps, etc. Then I threaded bits 
of twine or ribbon through them and tied them off.


The key and plate and "dream" were coated with irRESISTibles. 


Gina's Designs Products Used

Other Products Used
Gesso
Acrylic paint
StazOn ink pads
StazOn Studio Glaze
Glitter
Judkins Diamond Glaze
Imagine Crafts irRESISTibles
Brilliance ink pads
Stencil Girl stencil

Monday, August 3, 2015

Cute as A Button-layout by Lynne

Hi there! Can you believe it's August already? I'm still trying to figure out what happened to May and June! Time sure does fly, and this page sure illustrates that. I created a layout of my son's first portrait sitting, and this "little guy" is 23 years old now!


Since the paper I chose had edge details, I kept my design fairly simple, keeping the focus on the photo and the chipboard accents. I love the title piece, which I painted black, then heat embossed in black with a grid-patterned design. I then brushed it lightly with Iridescent green Silks.


As soon as I saw the Buttons shape set, I thought they'd be perfect for banners. I dry-embossed them with  plaid-patterned and flourish-patterned embossing folders, then painted them with acrylic paints in muted colours that echoed shades in the paper. I rubbed black ink over top to make the patterns stand out a bit more, then brushed on the same green Silks as I used on the title piece. They were popped up with foam dots for dimension.


While I enjoy creating card, canvases and altered art projects, scrapbooking is my first love as it means a lot to preserve memories of times that pass all too quickly. 
 
Have a wonderful week and make a memory or two or three!

Gina's Products Used


Other Products Used

Crafter's Workshop stencil
Prima Epiphany paper
Silks-Iridescent Green

Sunday, April 26, 2015

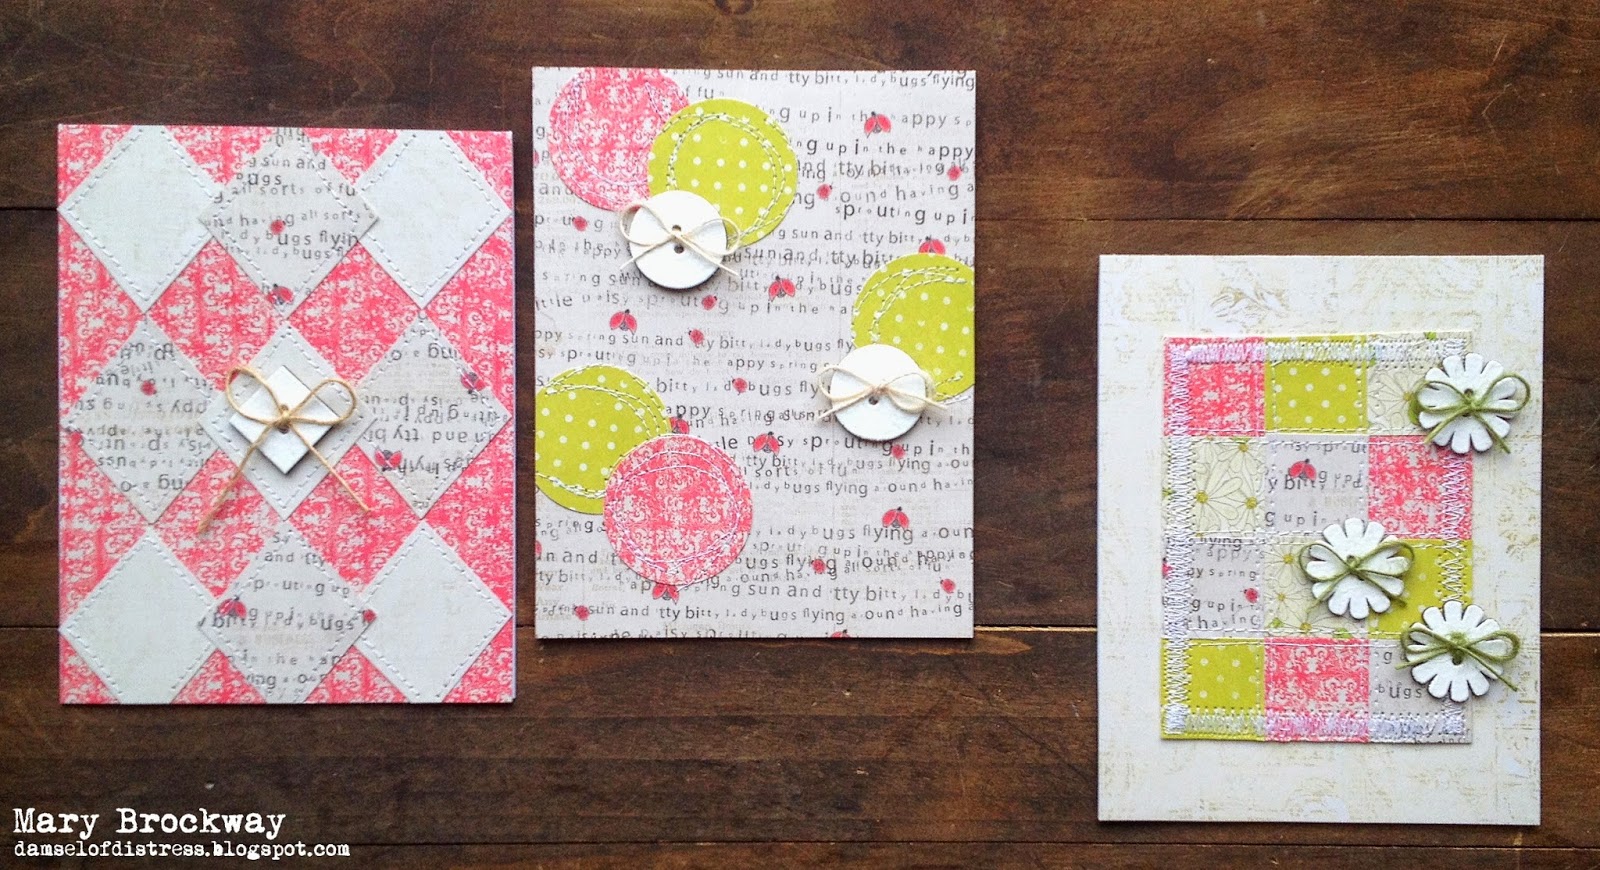
Quilted Cards with Mary B

Hello!  Mary here with a few quilt-inspired cards that are rocking some cute chip embellies.
I've always been a fan of the home-spun look of quilts, but haven't been able to make the jump to actual quilting.  So what's a girl to do when you're itching to make something stitched and fabulous?  Quilted cards, of course!

The Button Shape Set provides the perfect finishing touch for my mini quilts.

I've simply given them two coats of white embossing powder...

...and tied a bit of twine through.  It was as simple as ONE-TWO-THREE!!

Thanks so much for joining me today and I'll see ya next time!

Gina's Designs supplies used:

Other supplies used:
Iron Orchid Designs 6x6 Loolah paper pad
WOW  embossing powder in Opaque Bright White
May Arts String Burlap Ribbon in Natural, Ivory and Olive


Saturday, April 25, 2015

Shabby Chic Embellishments by Kim C.

Hello everyone!  This week I have created shabby-vintage embellishments!  These are so fun and so easy to make. I am so addicted to making these cute embellies!!!  So let me tell you what I have done!
I have used the Button Shape Set to make these super cute button embellishments.  The paper I used was in my stash. I glued the buttons to the paper then cut around the buttons. Victorian Velvet distress ink was used all around each button.  I then added trims and flowers to them.
For the next embellishments, I used the Dangles collection.  I also used a few pieces from Miniatures Ladies Choice to decorate them, along with flowers, trims, seam binding and pearls.  I also used a heart from Border Sticks Lattice Hearts.   The butterfly and mason jar where created with punches.  I punched out 4 of each and glued them together to stiffen them up.  I then added pattern paper and then decorated them.
 Please check out my blog to close ups of these super cute embellishments!

Gina's Designs Products used:

Other items used:
Flowers
Lace
Trim
Pearls
Paper from Kittys Scrap Post
Seam Binding
Victorian Velvet Distress Ink


Thursday, April 23, 2015

Cards in Pastel Colors

Hi everyone! Melissa here with two cards for Gina's Designs. I think these buttons are so cute and fit well with the style of the cards. I also used fern, leaf, bird, and daisy pieces. They're all so versatile and I've used them in several of my projects.
I prepped all the chipboard with gesso. I used oil paint on the buttons, daisy, and ferns. On the little bird I used Twinkling H20s and watercolors. On the leaf I used chalk ink topped with crackle paint.


Thank you so much for looking, and I hope you can find a little time to create something today!

Gina's Products Used:

Other:
White cardstock, Pink Paislee, and Graphic 45 Papers
Flowers from Prima and Petaloo
Sizzix Tattered Flower Garland
Twinkling H20s
Winsor and Newton Oil Paints and Watercolors
The Crafters Workshop 6 x 6 Doodling Template, Cherry Blossoms
Liquitex Modeling Paste
Ranger Crackle Accent
Tsukineko Chalk Ink

Related Posts Plugin for WordPress, Blogger...